
I love to up cycle. I always have a stock full of empty boxes, packaging materials, some random stuff for which my mind will always be at work, thinking what could be created out of these items! When I decided to make this decor pc, I had some beads, some jewelry pcs, some rainbow colored yarn from my old rainbow gloves. Over a period of time my gloves developed some holes, which were irreparable. So I unraveled my gloves to get all the rainbow colors in hand. After much thinking on all the items in hand, one by one i started developing the idea. Sharing the same step by step with you.

We will start with the list of items required to make this.
- Metal bells – You can chose different shape or finish of bells. I chose christmas bells in brass. Medium size bells – 8 pcs; Small size bells (optional) – 21 pcs

Metal bells
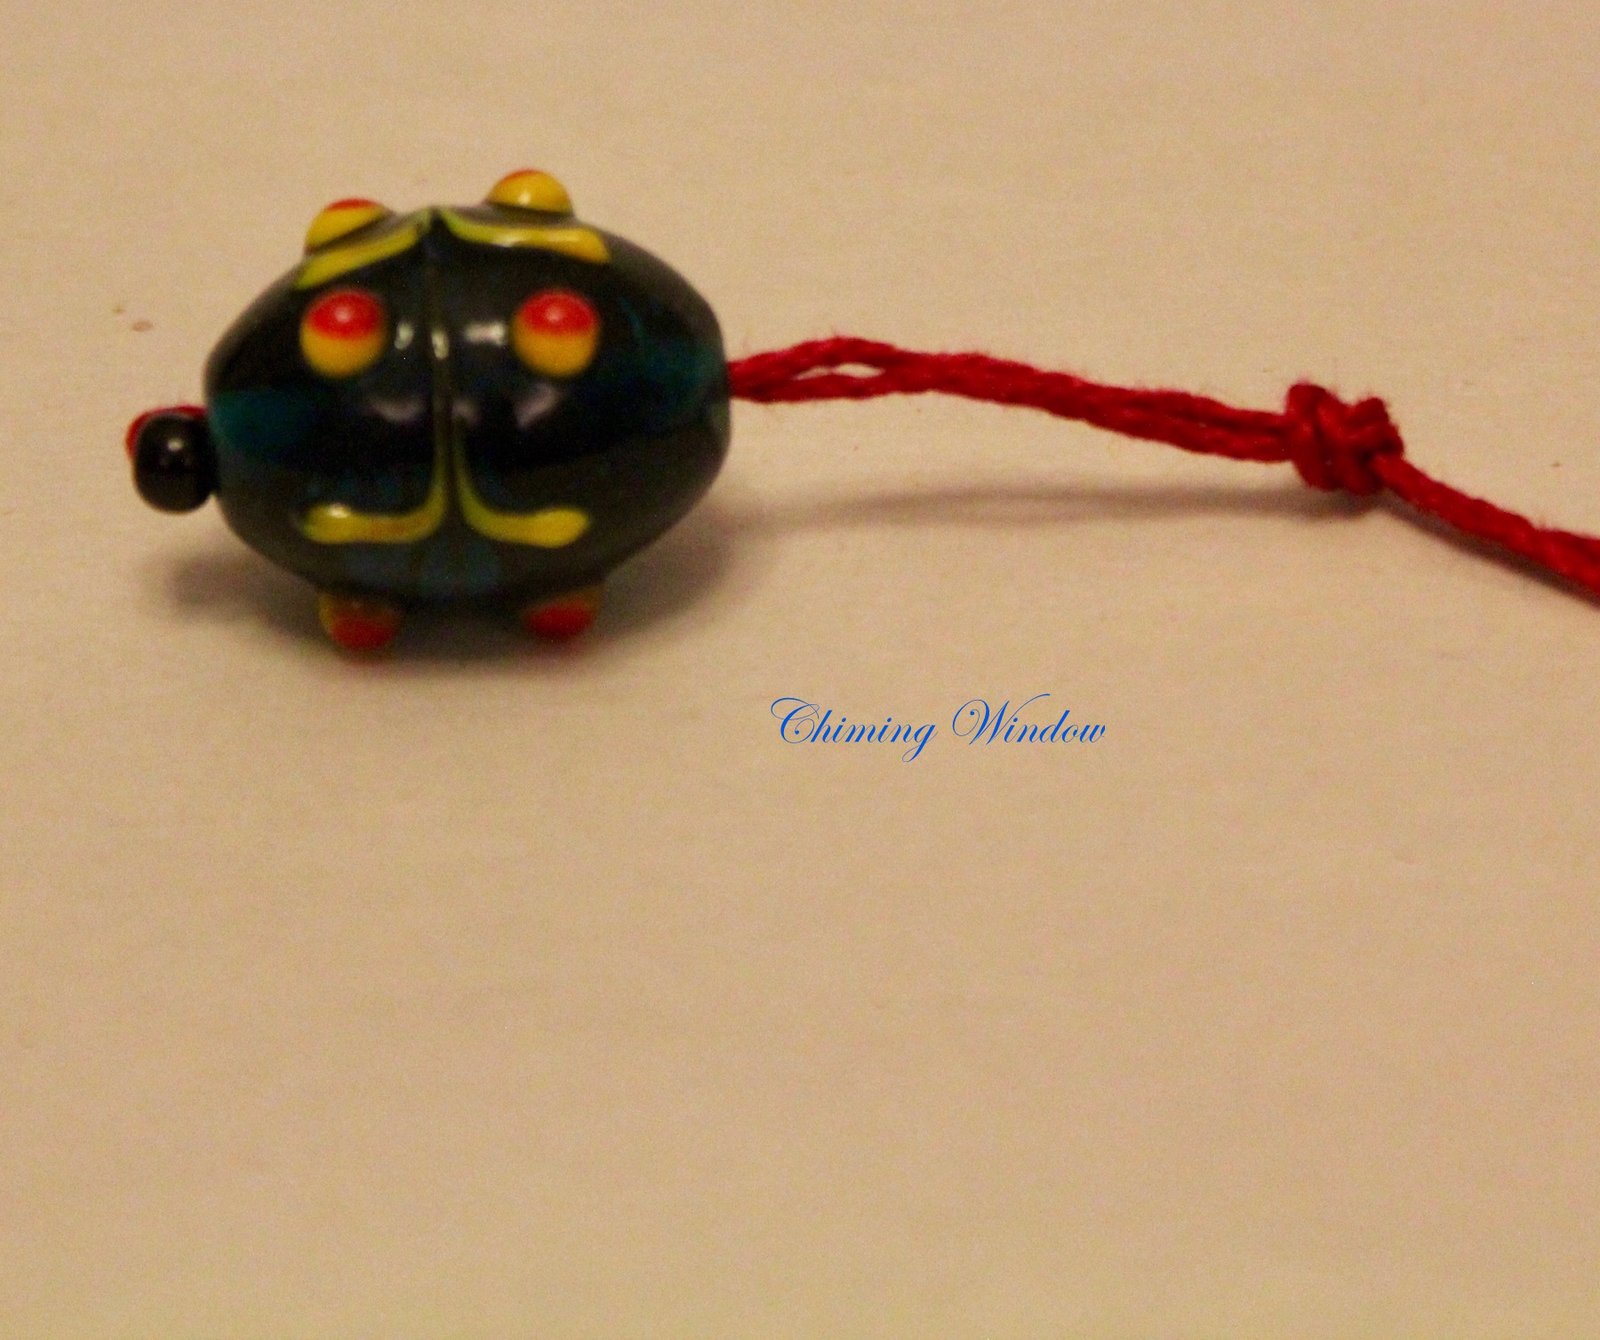
- Glass beads/ old jewelry pcs/ decorative stones – Mix of 8pcs; Small beads (to lock big beads in the thread – 8pcs

Glass Beads, stones, jewelry
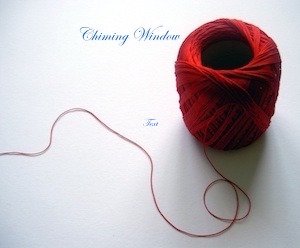
- Thick thread / Yarn – Rainbow colors.
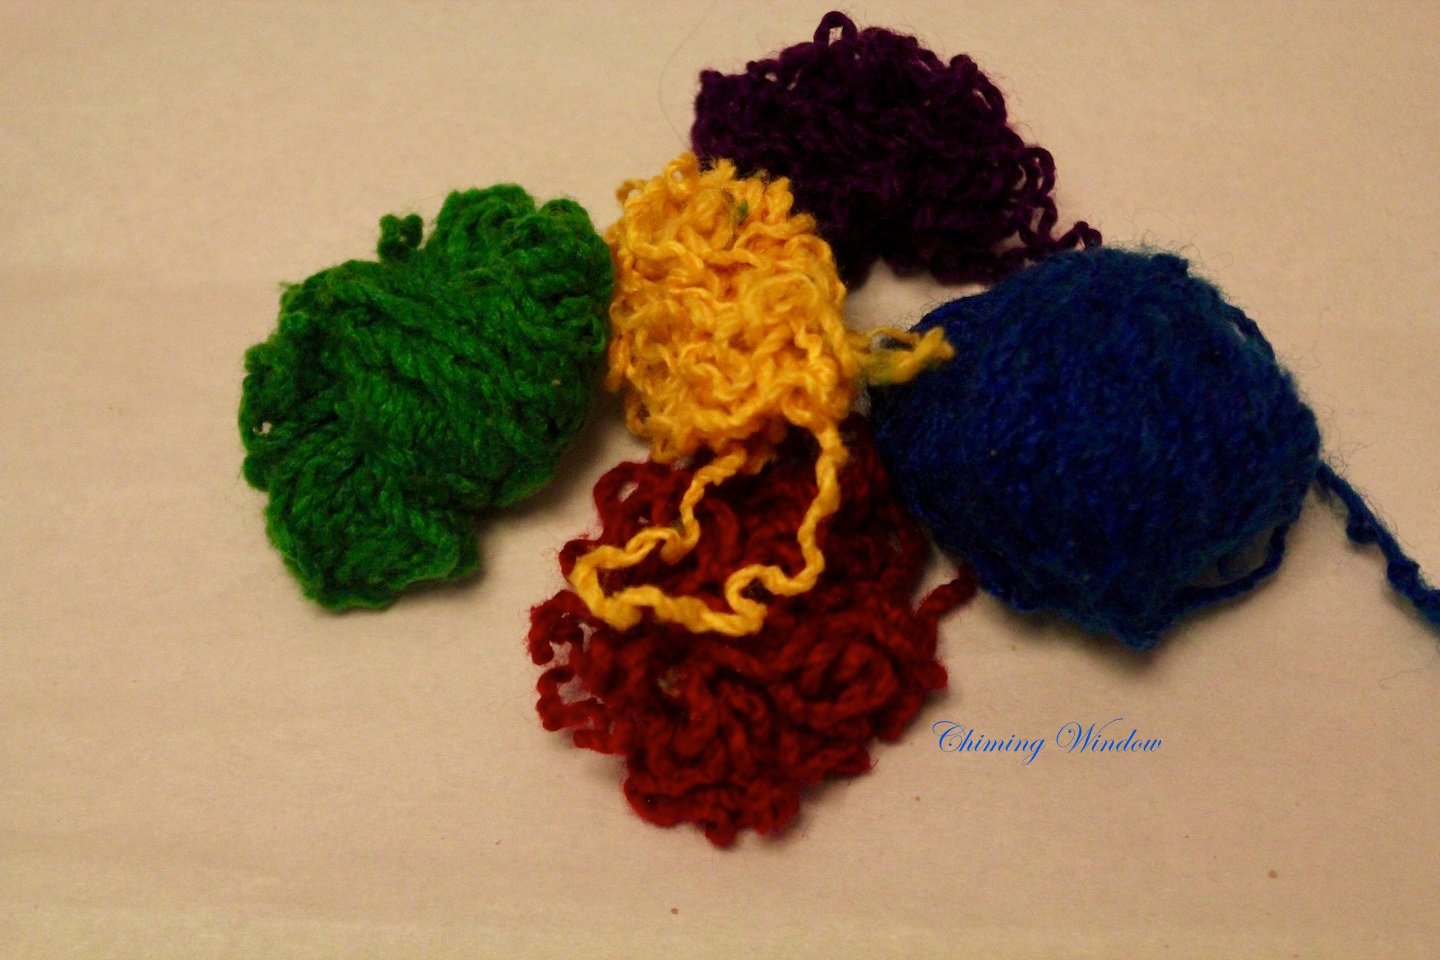
Yarn
- 6″ Metal/ Plastic or wooden hoop/ring
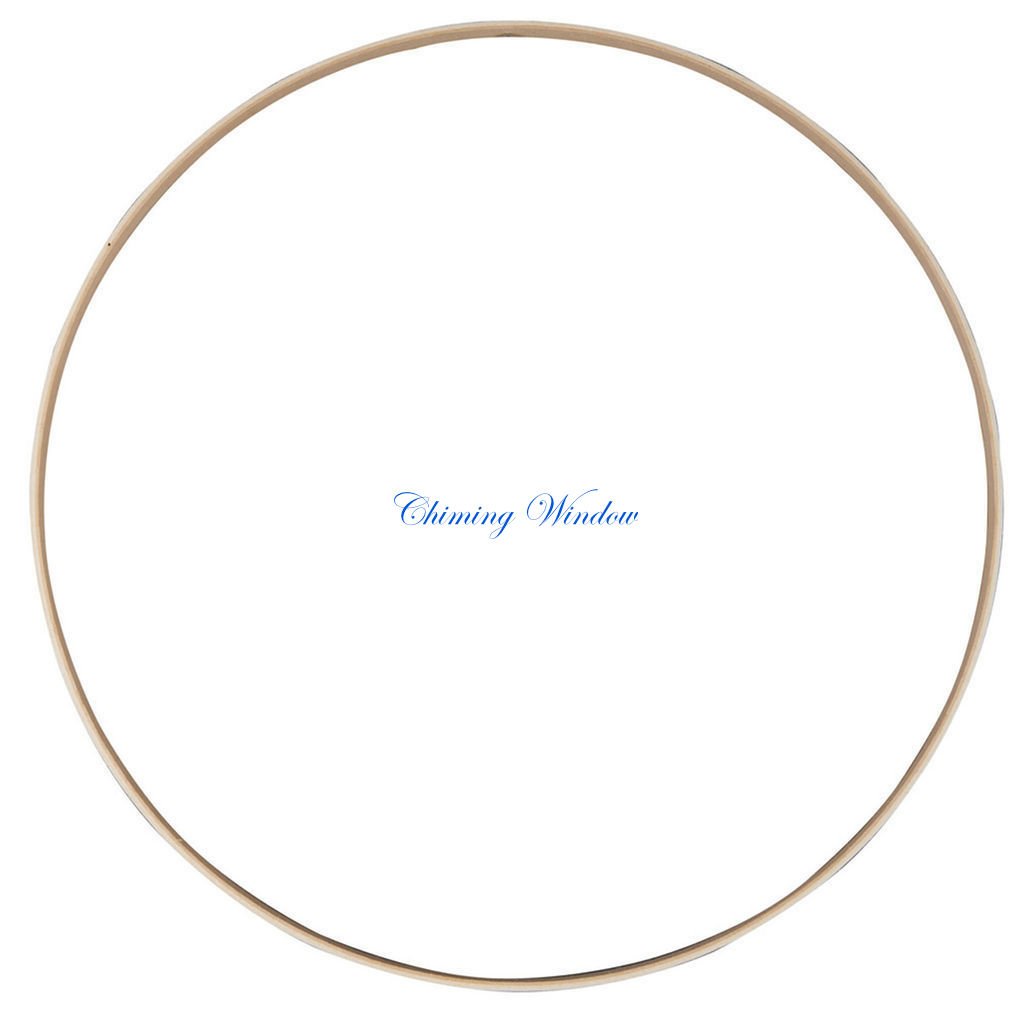
6″ wooden hoop
- Ruler
- 1″ metal ring
- Hot glue gun or strong adhesive
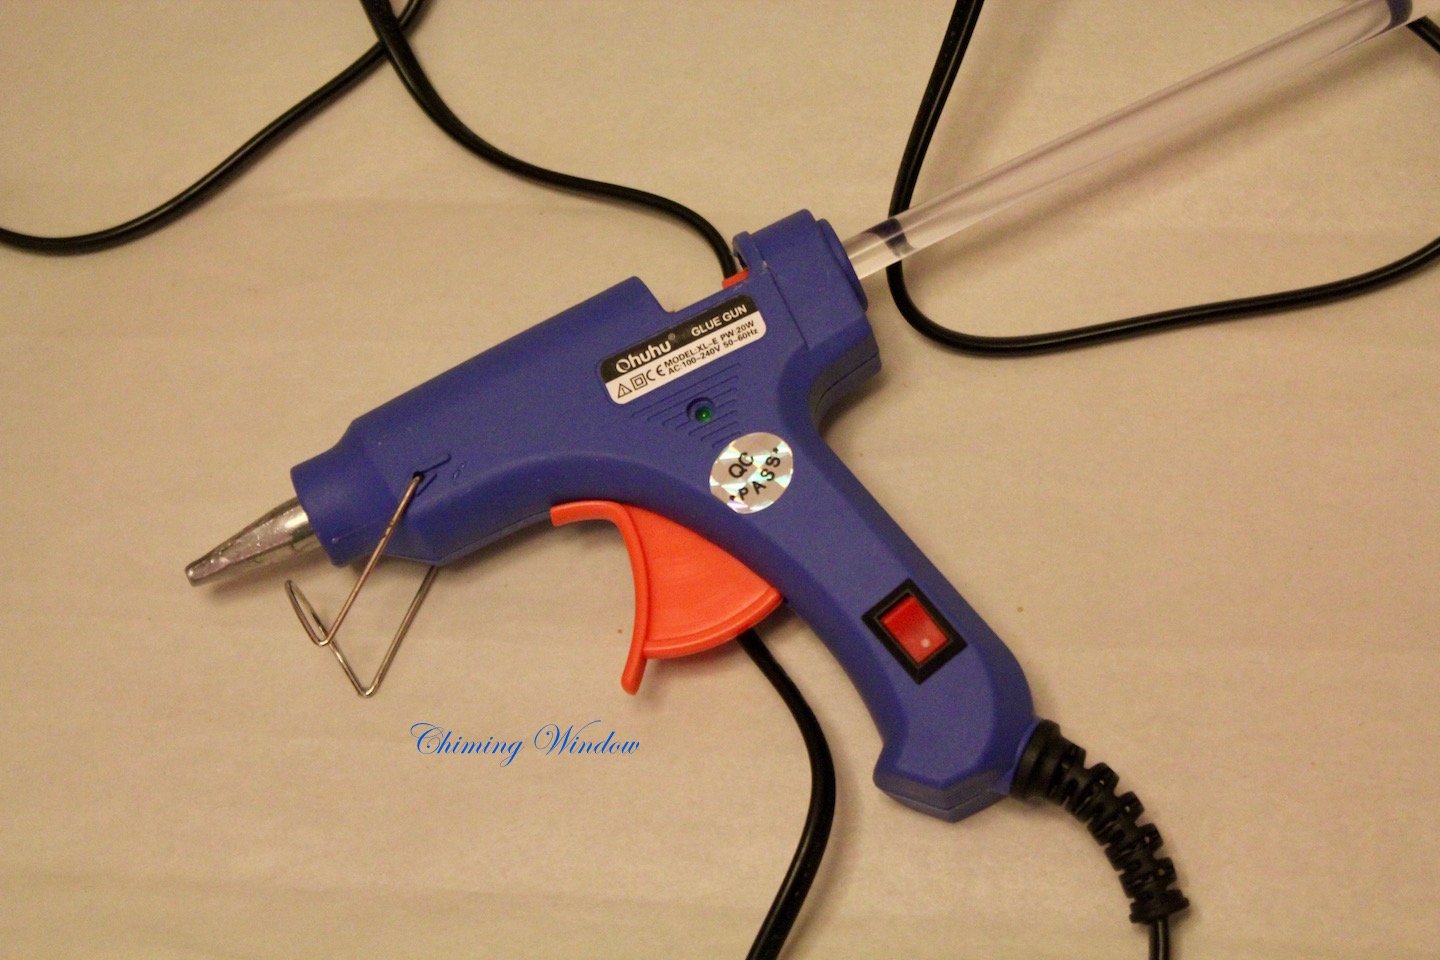
Hot glue gun
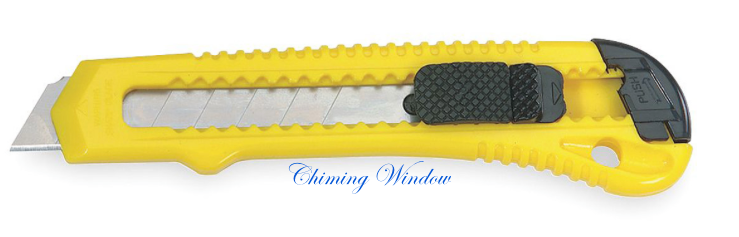
- Paper knife
- Pointed screw driver or thick needle – Needle should be really thick to make holes.

Pointed screw drive
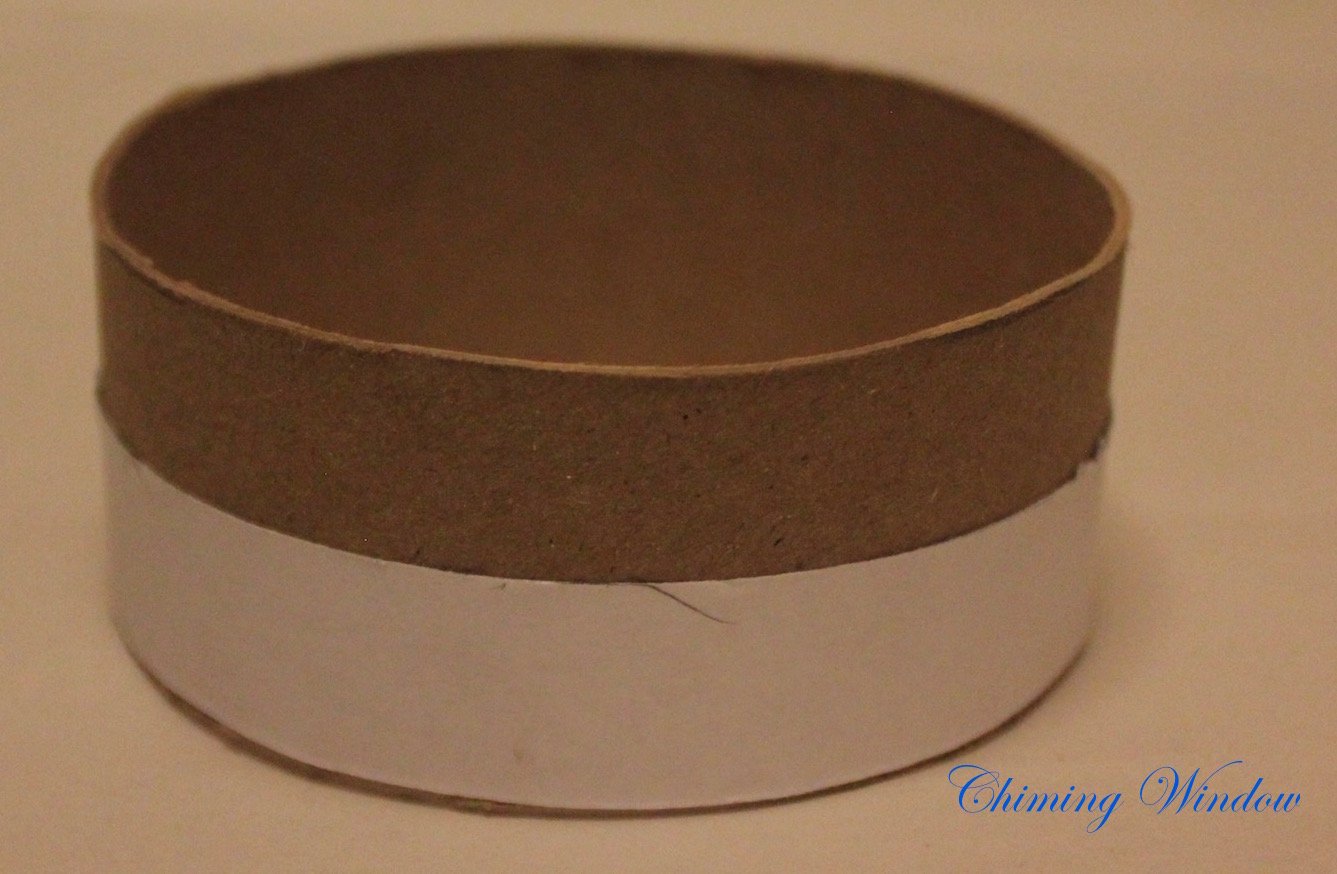
- Salt container – 3 pcs. In the absence of salt containers any card board round container or packaging rings can be used.

salt container
Lets start working on the hanging –
- Remove the wrapper of the container.

Wrapper removed
2. Cut the top and bottom of the container.

3. Use paper strips of 3/4″ width to cut even sized rings. We would need total 8 rings.
Cutting of the rings
4. Paper strips will make it easy to cut the even sized rings.

Ring cut out
5. Tie the yarn to the ring and start wrapping it. Wrapped yarn should be closely wrapped to avoid any gaps in-between. The lose end of the yarn should be tucked underneath the wrapped yarn.
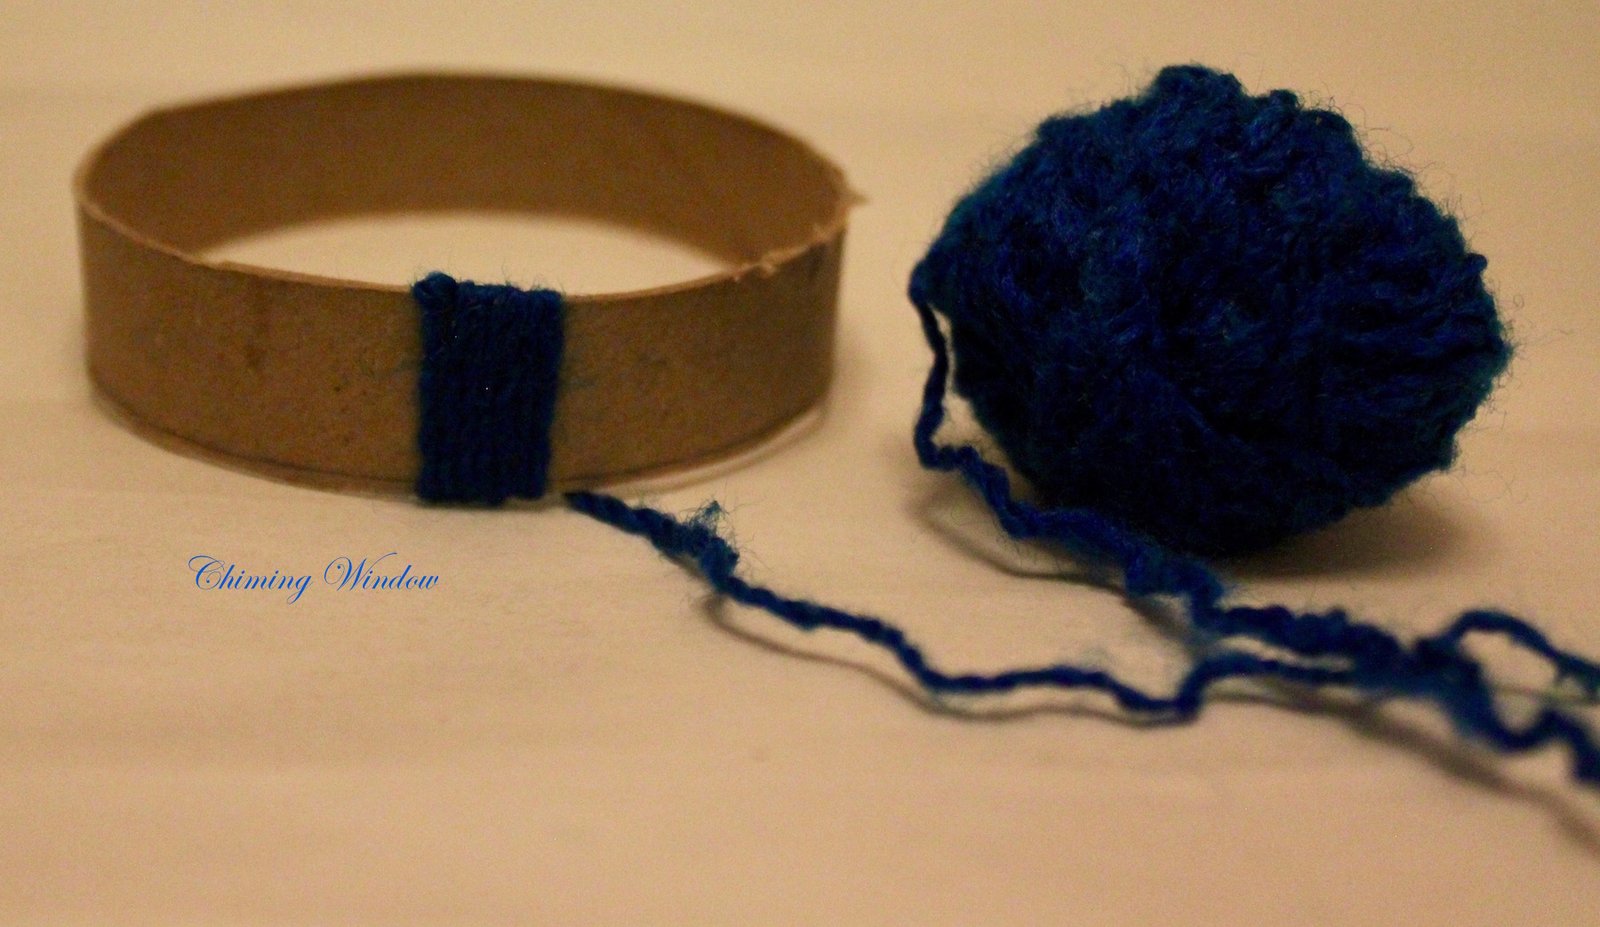
Thread wrapping
6. When you are about to reach the end of the process of wrapping yarn, put a big size bell in the yarn and finish wrapping. The loose end should be tied and glued with the help of hot glue or strong adhesive. The bell should be kept outside the ring.
Similarly prepare all the rings in vibrant colors. Don’t forget to add the bell before finishing the wrapping of the thread on each ring.

Position of bell on the ring
7. Prepare the 6″ wooden hoop similarly. I chose to use all the colors on this one, since it will hold all the rings. i kept on wrapping the thread for an inch and before tying the next color to the loose end, i threaded the small size bell and tucked the loose ends under the wrapped thread.
Threading small bells in this ring is optional.

6″ ring
8. Divide the ring in 8 equal parts. Mark the points. These points will be used to hang the ring as well to tie the loops for hanging the ready pc.

Marking of the ring
9. Cut 8 strings of following lengths – 40″, 38″, 36″, 34″, 32″, 30″, 28″, 26″. Each of these strings will be folded into half after adding beads/ jewels to it.
10. Thread a big sized glass bead and one small bead in the above cut strings.

11. Take the needle back through the big glass bead. The small bead will lock the thread to hold the bigger one. 
12. Fold the string into half. the bead should hand right in the center of the string. Finally bead would appear as in the below image. Tie knot at 1.5″as shown in the image.
Prepare all the strings in the same manner. That knot at 1.5″ is needed in each string.
13. For the jewelry pcs or locket pcs, you can also make a loop of the string to lock the same.
With the help of the screw driver or thick needle. make a hole on the ring at on the opposite side of the bell. The hole on the ring and the bell which hangs outside the ring should be in a straight line. Also you will have to be very careful in not cutting the wrapped yarn while making the hole.

14. Once all your strings are ready with the bead/stone/jewel locked in the center, take the string through the hole of the ring. The knot which was made at 1.5″ will lock the string in the ring to keep the bead hanging in the center. Tie another knot just outside the ring, it will lock it completely in place.
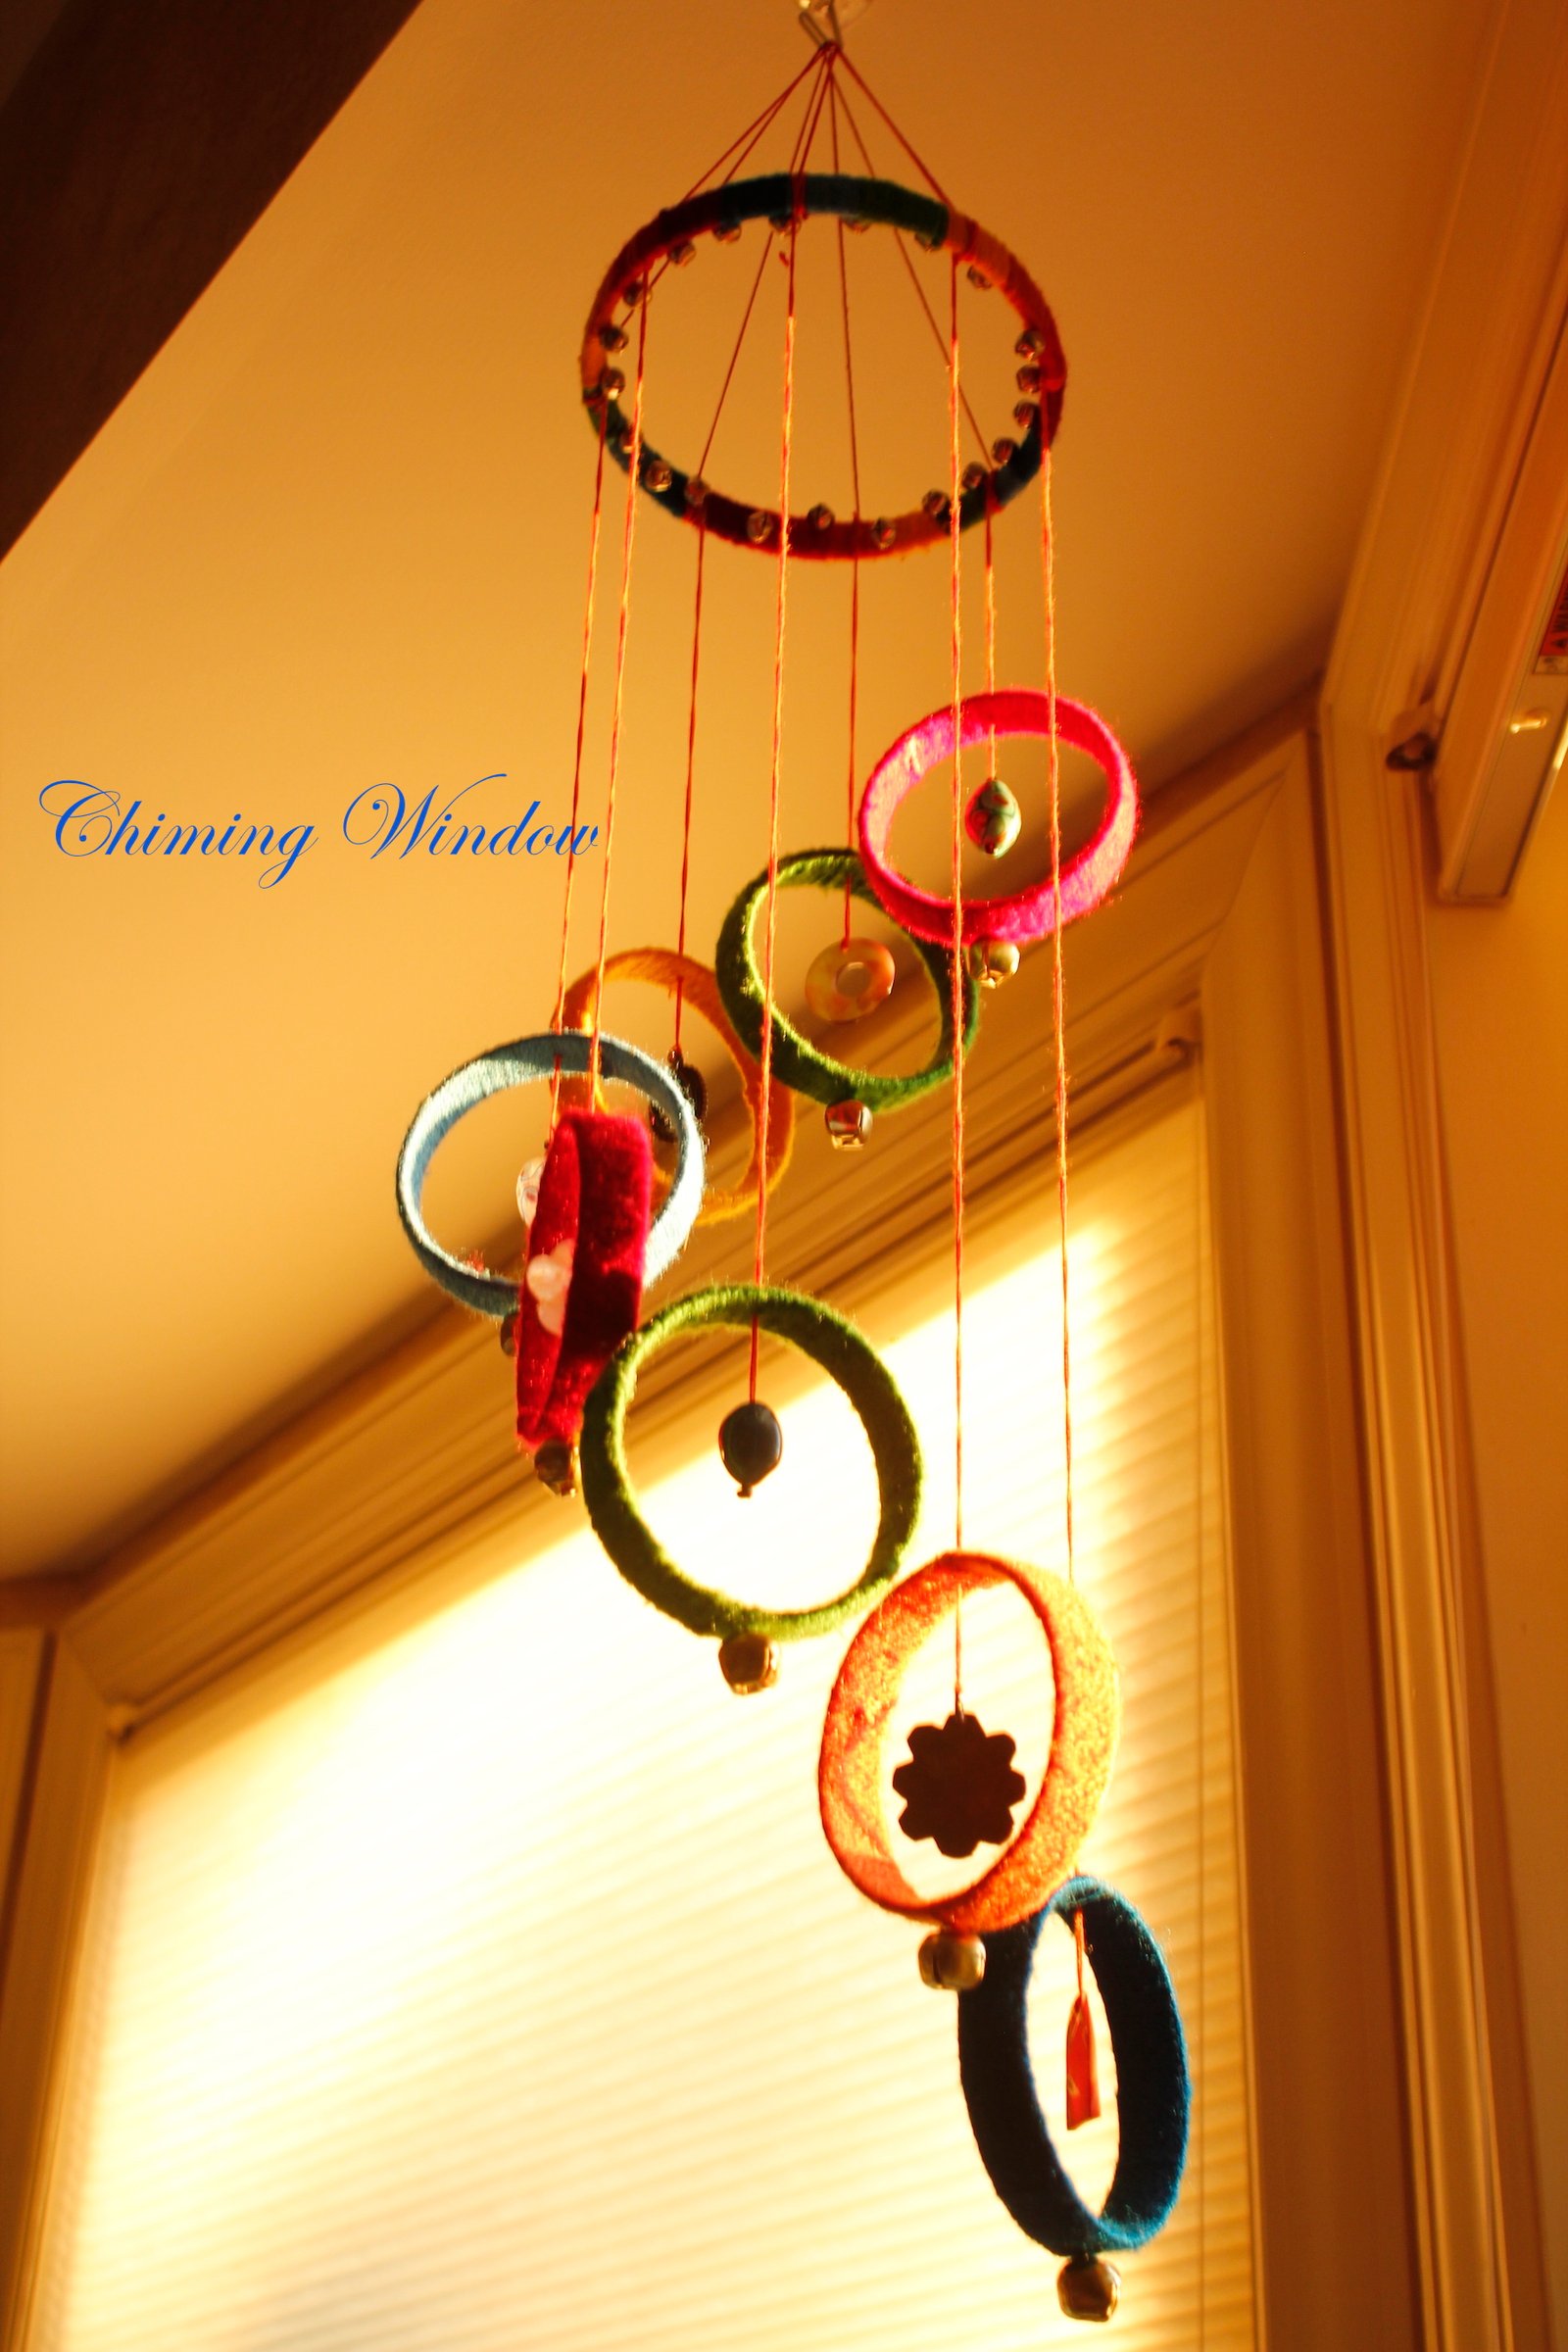
Prepare all the rings like this and arrange them in ascending or descending order. 


15. Tie all the ready rings to this already marked ring in ascending or descending order. Same markings will also be used to tie the hanging loops on top.
Marking of the ring
16. For the hanging loops, cut the yarn in 4 equal lengths of 16″. Tie each end of the yarn in opposite direction, on a straight line as marked. While tying these threads, pass each thread through 1″ metal ring. While tying , each of these 4 strings should be of equal lengths to maintain the balance of the final pc.

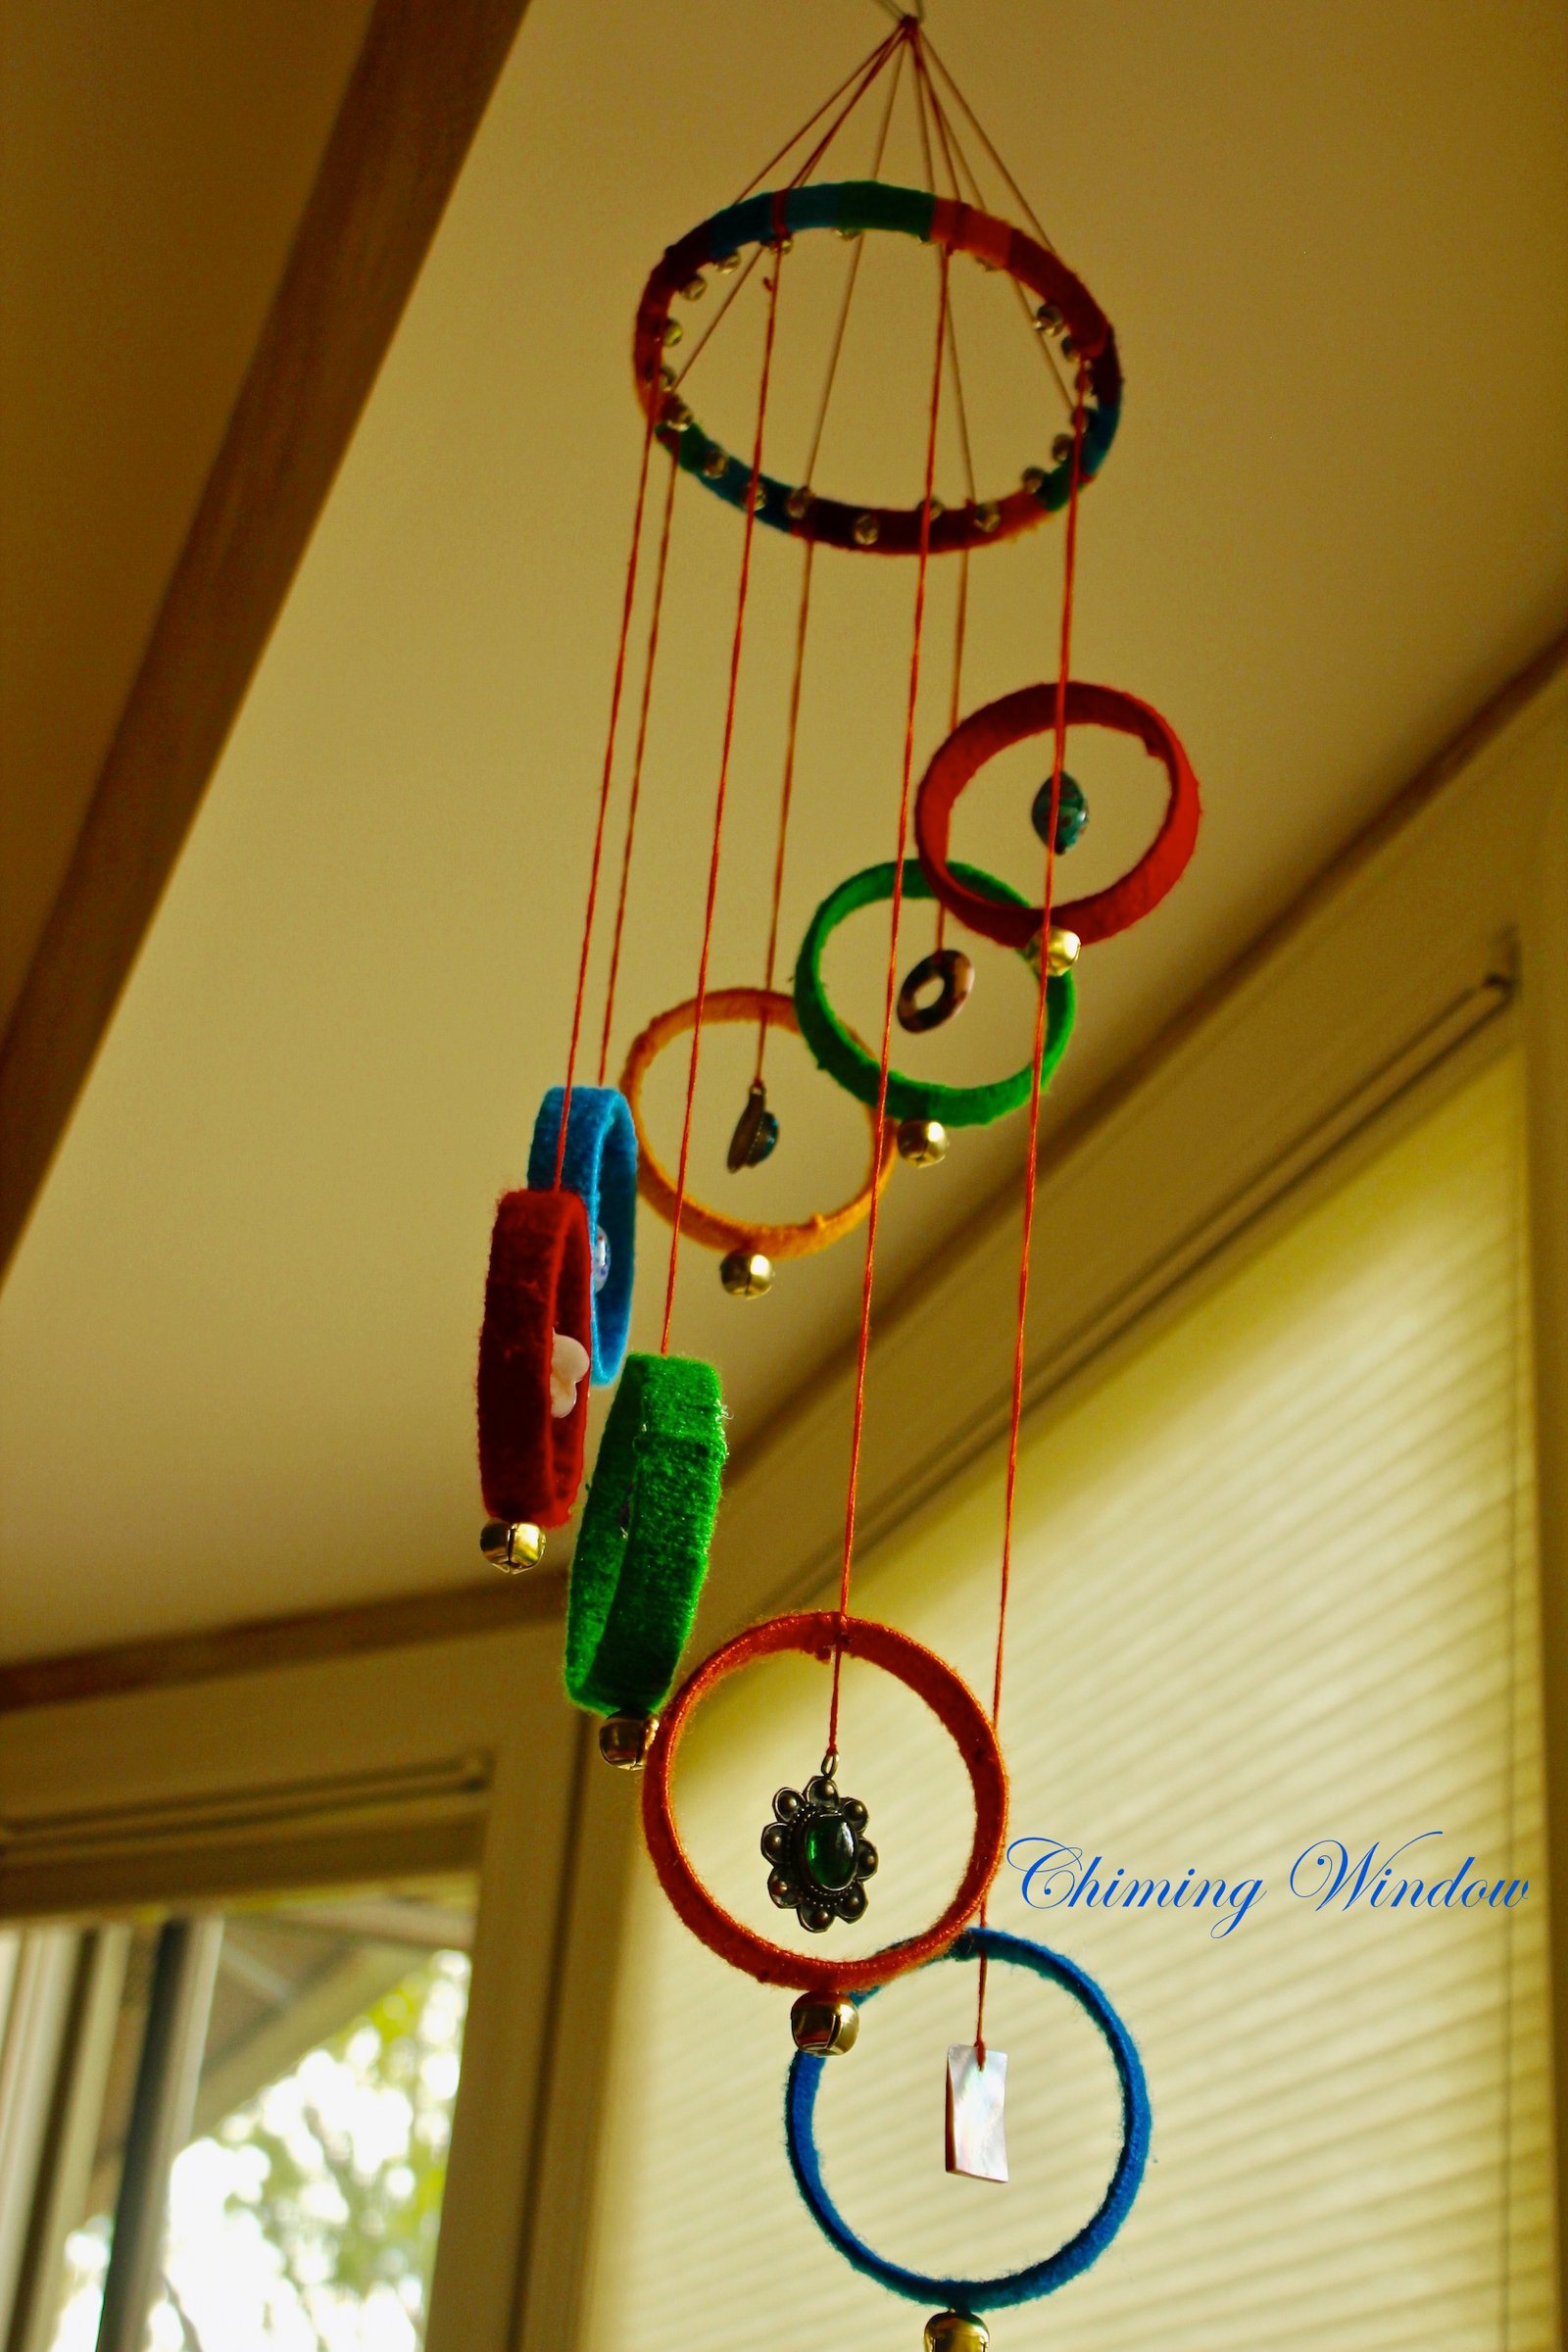
17. Your decor pc is ready to hang. I have hung mine near the window facing west. The sunset lights and this pc on the window makes this corner my favorite in the house. 🙂
All the above instructions have also been complied in the below video.
If it inspired you to create something, share your ideas and finished products with me.
Please write your feedback, questions, doubts in the comments. I will surely respond to you.


8 Comments
Meet Local Couples
October 11, 2018 at 7:05 amGreat post. I am going through many of these issues as
well..
minecraft
October 7, 2018 at 3:28 amThere’s certainly a great deal to learn about this issue.
I love all the points you made.
minecraft
October 6, 2018 at 3:05 amSince the admin of this web site is working, no uncertainty very
quickly it will be well-known, due to its quality contents.
grow my pennis naturally for free
July 22, 2018 at 5:57 amWow, fantastic weblog structure! How lengthy have you been blogging for?
you made running a blog look easy. The overall glance of your
web site is wonderful, as smartly as the content material!
automatic link checker
October 24, 2017 at 8:27 pmOh my goodness! an incredible article dude. Thanks However I am experiencing trouble with ur rss . Do not know why Can not sign up for it. Could there be anyone getting identical rss issue? Anybody who knows kindly respond. Thnkx
Chiming Window
October 25, 2017 at 2:03 amThank you for your appreciation. The rss issue will be resolved soon. 🙂
zVolLWJgtlw
September 25, 2017 at 1:40 am360570 671855hello I was quite impressed with the setup you used with this internet site. I use blogs my self so very good job. definatly adding to bookmarks. 628480
Chiming Window
September 27, 2017 at 12:17 amThank you!!