
Finishing a project is a time taking process. The process includes joining yarn, fastening, darning to name a few. With little tips and tricks we can save a lot of time in the finishing process. This post will cover the methods of fastening off a yarn and darning in the loose ends.
-
Fastening off
-
Weaving / Darning
We will start with fastening off a yarn in a project. Crochet is worked either in rows or in circles. I will be covering both rows and circular crochet for the fastening off techniques.
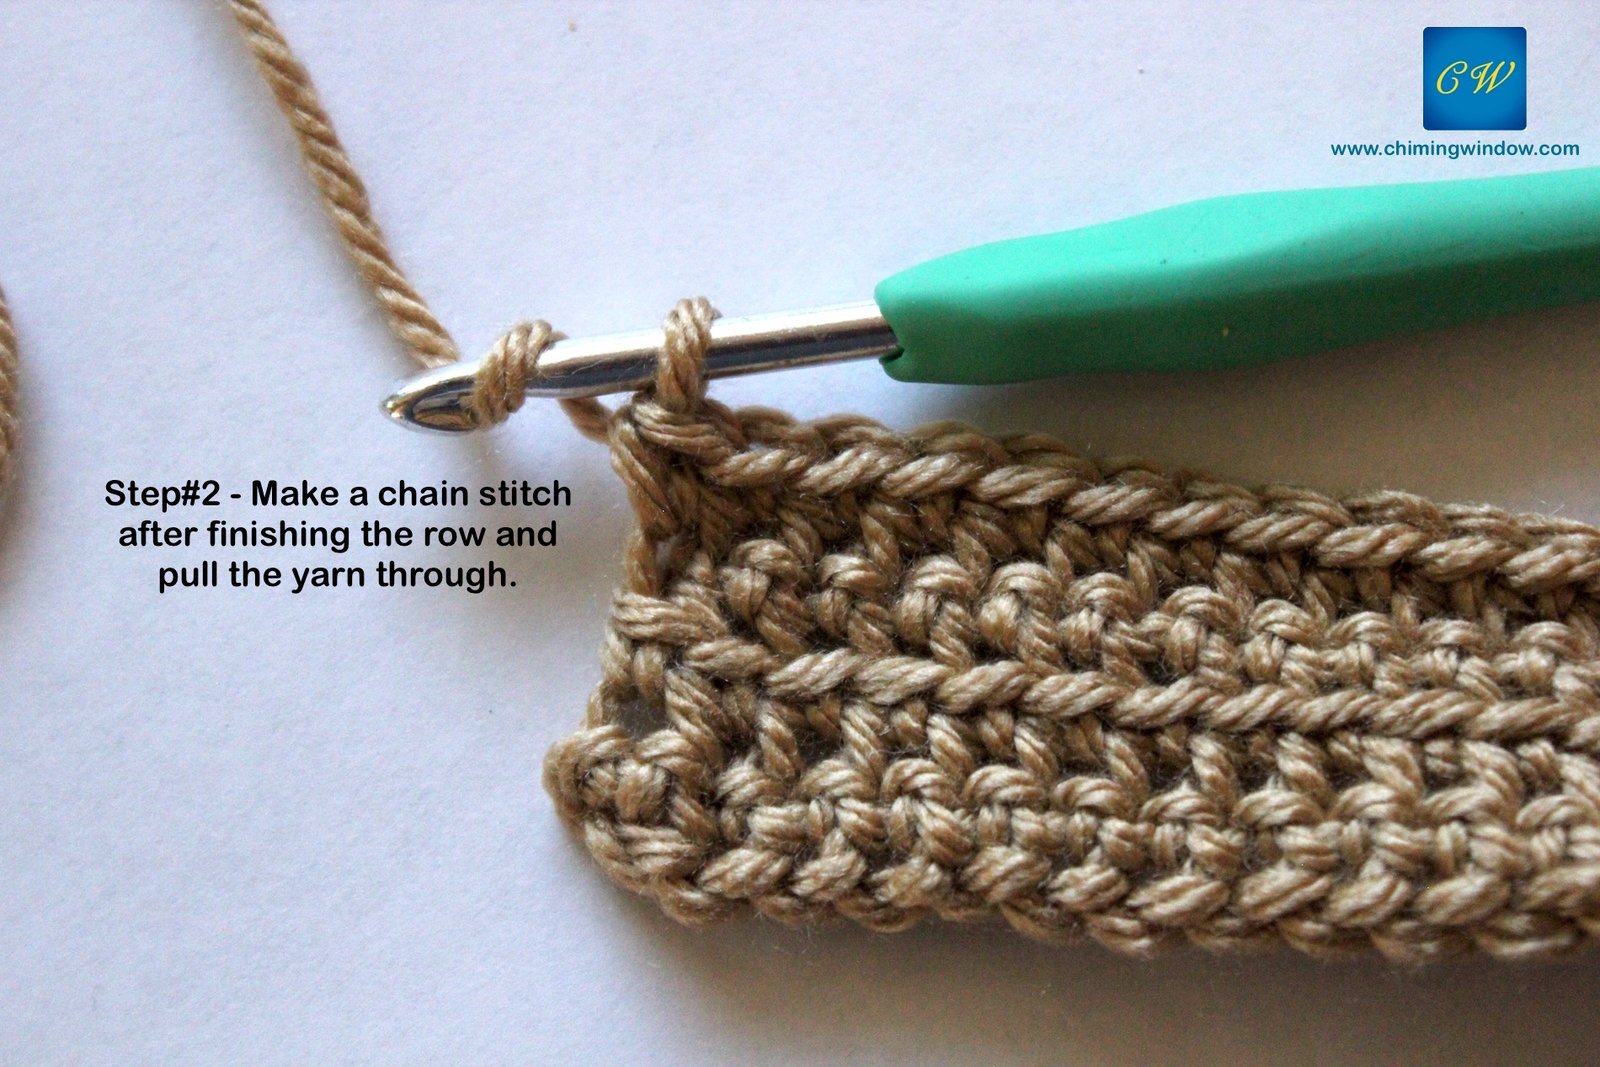
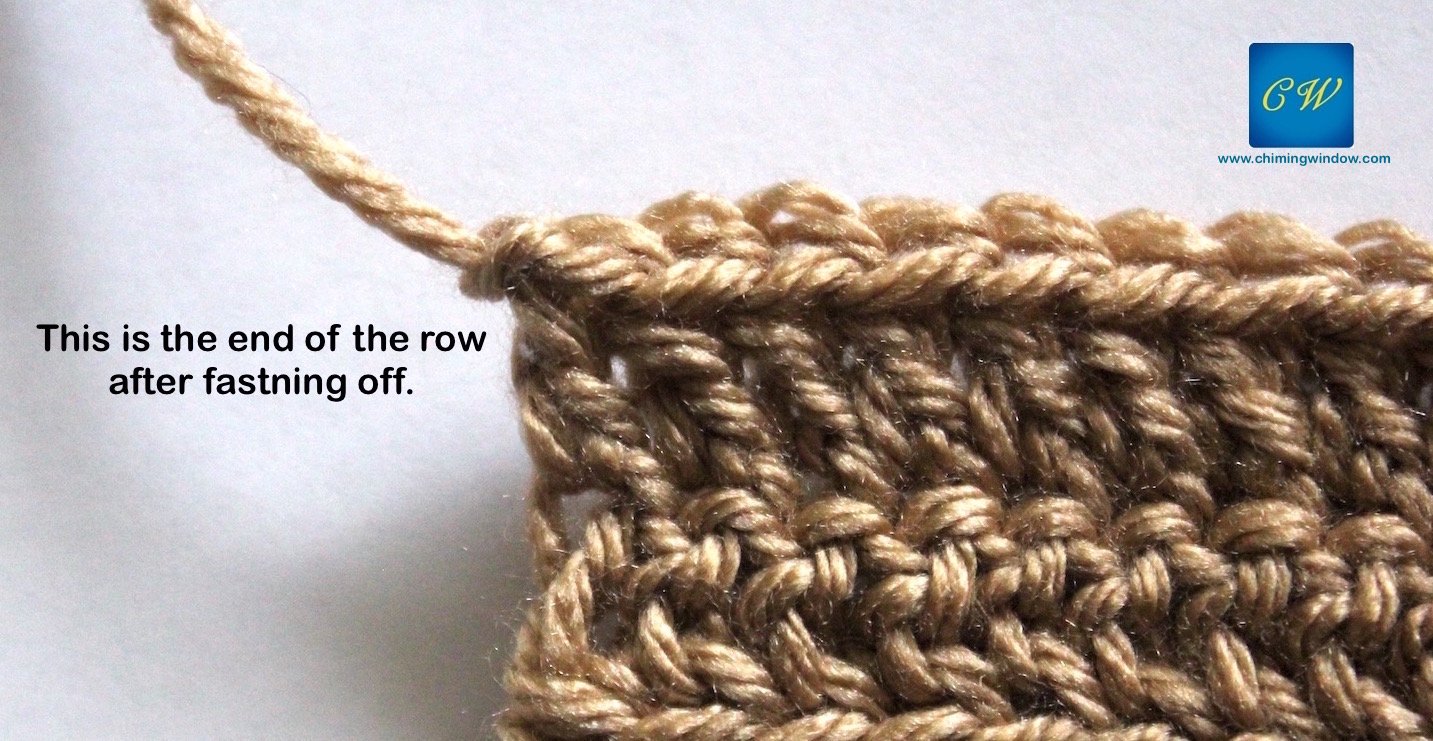
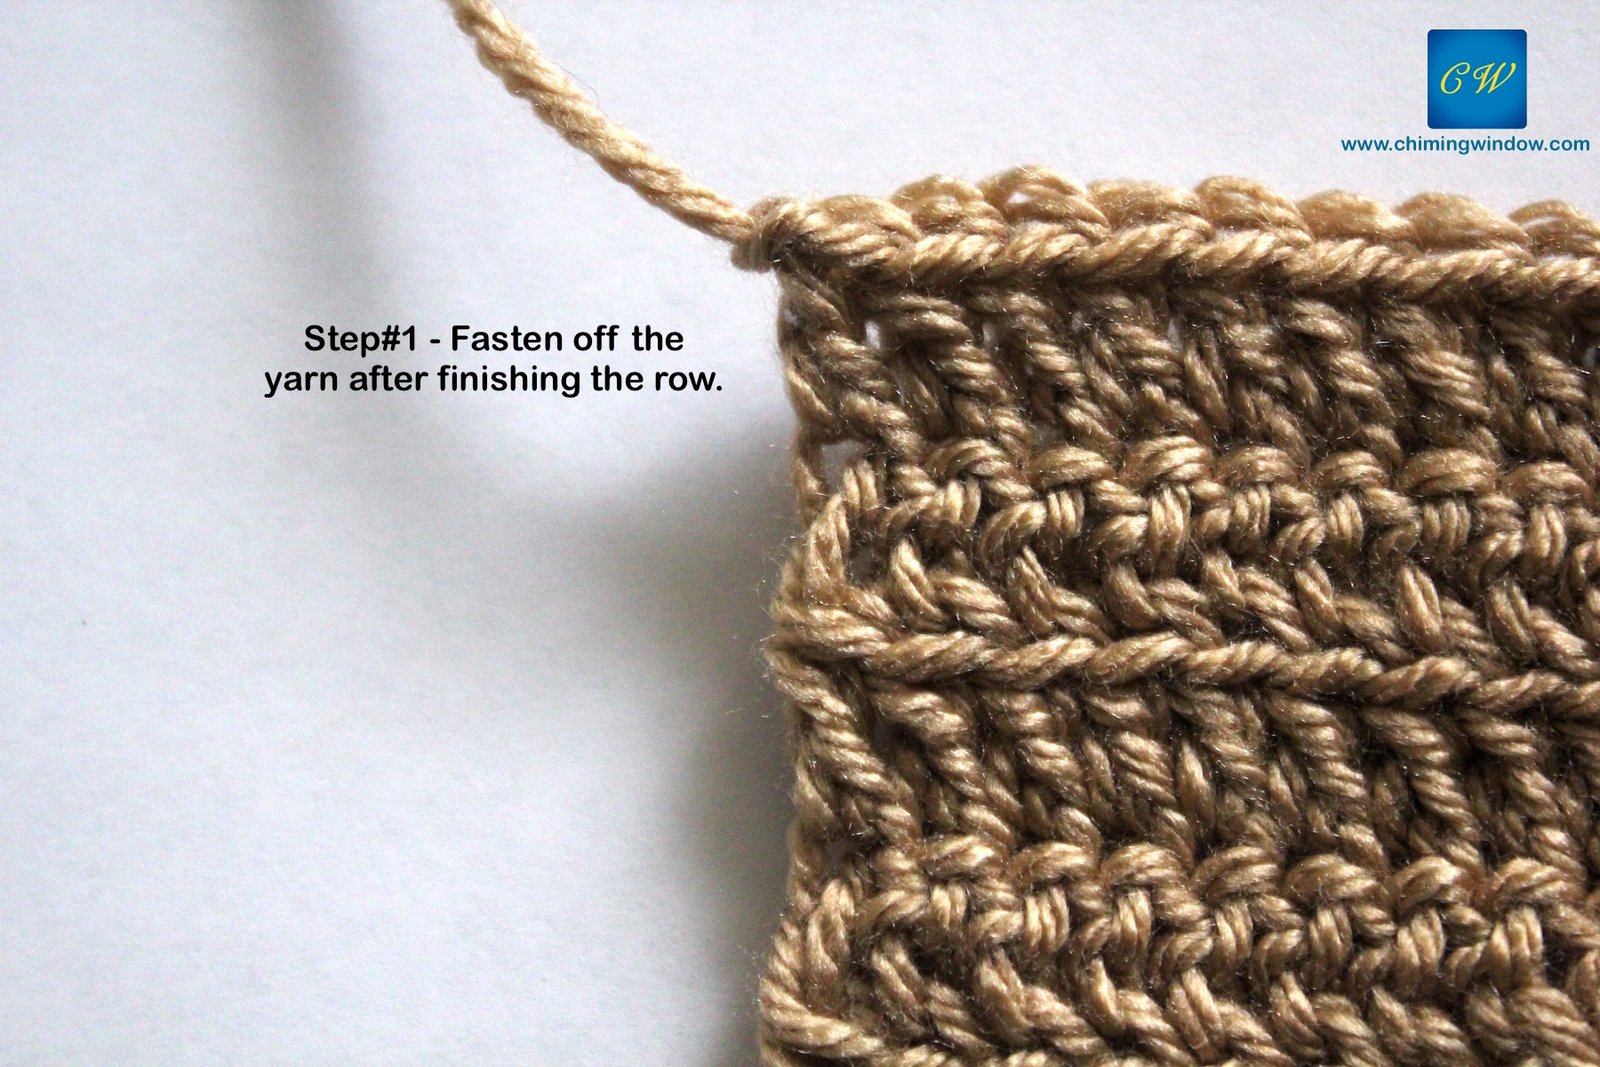
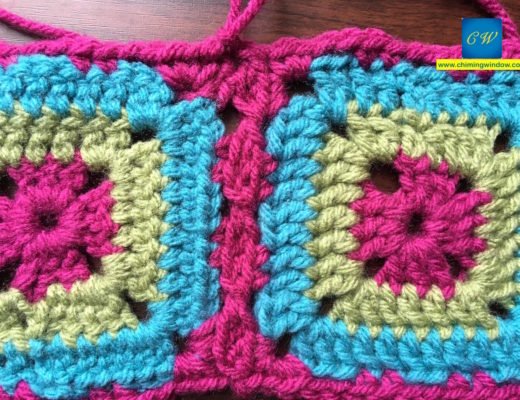
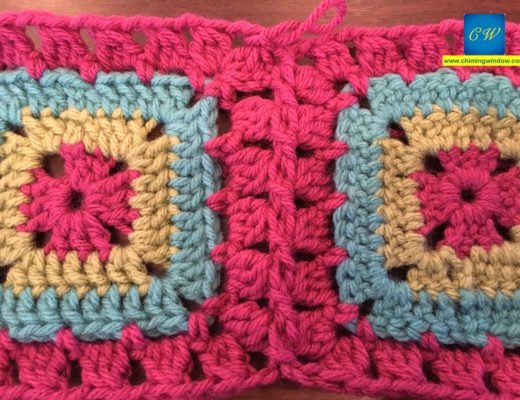
FASTENING IN ROWS – Crocheting in straight lines one over another is considered crochet in rows. If we need to fasten off a yarn / color at any stage (as per the demand of the design/pattern), it should be done so neatly that in one glance it shouldn’t shouldn’t be noticeable. It is also possible to fasten off the yarn where its not possible to find where and how it was done.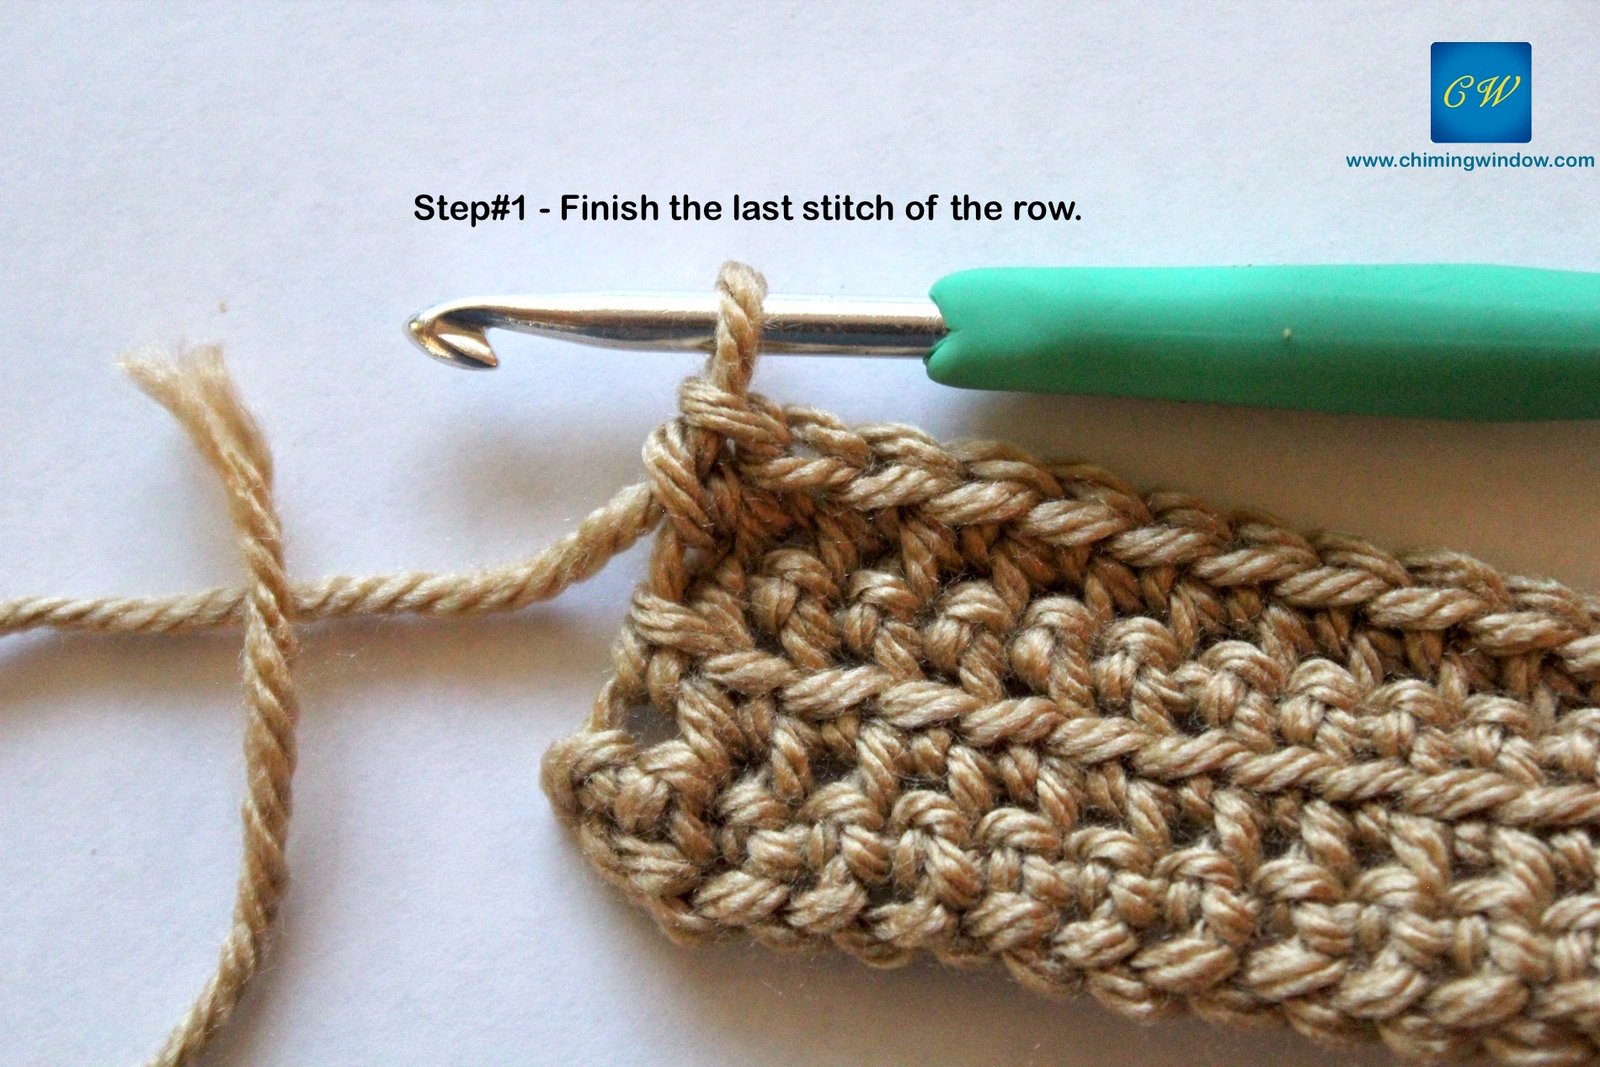
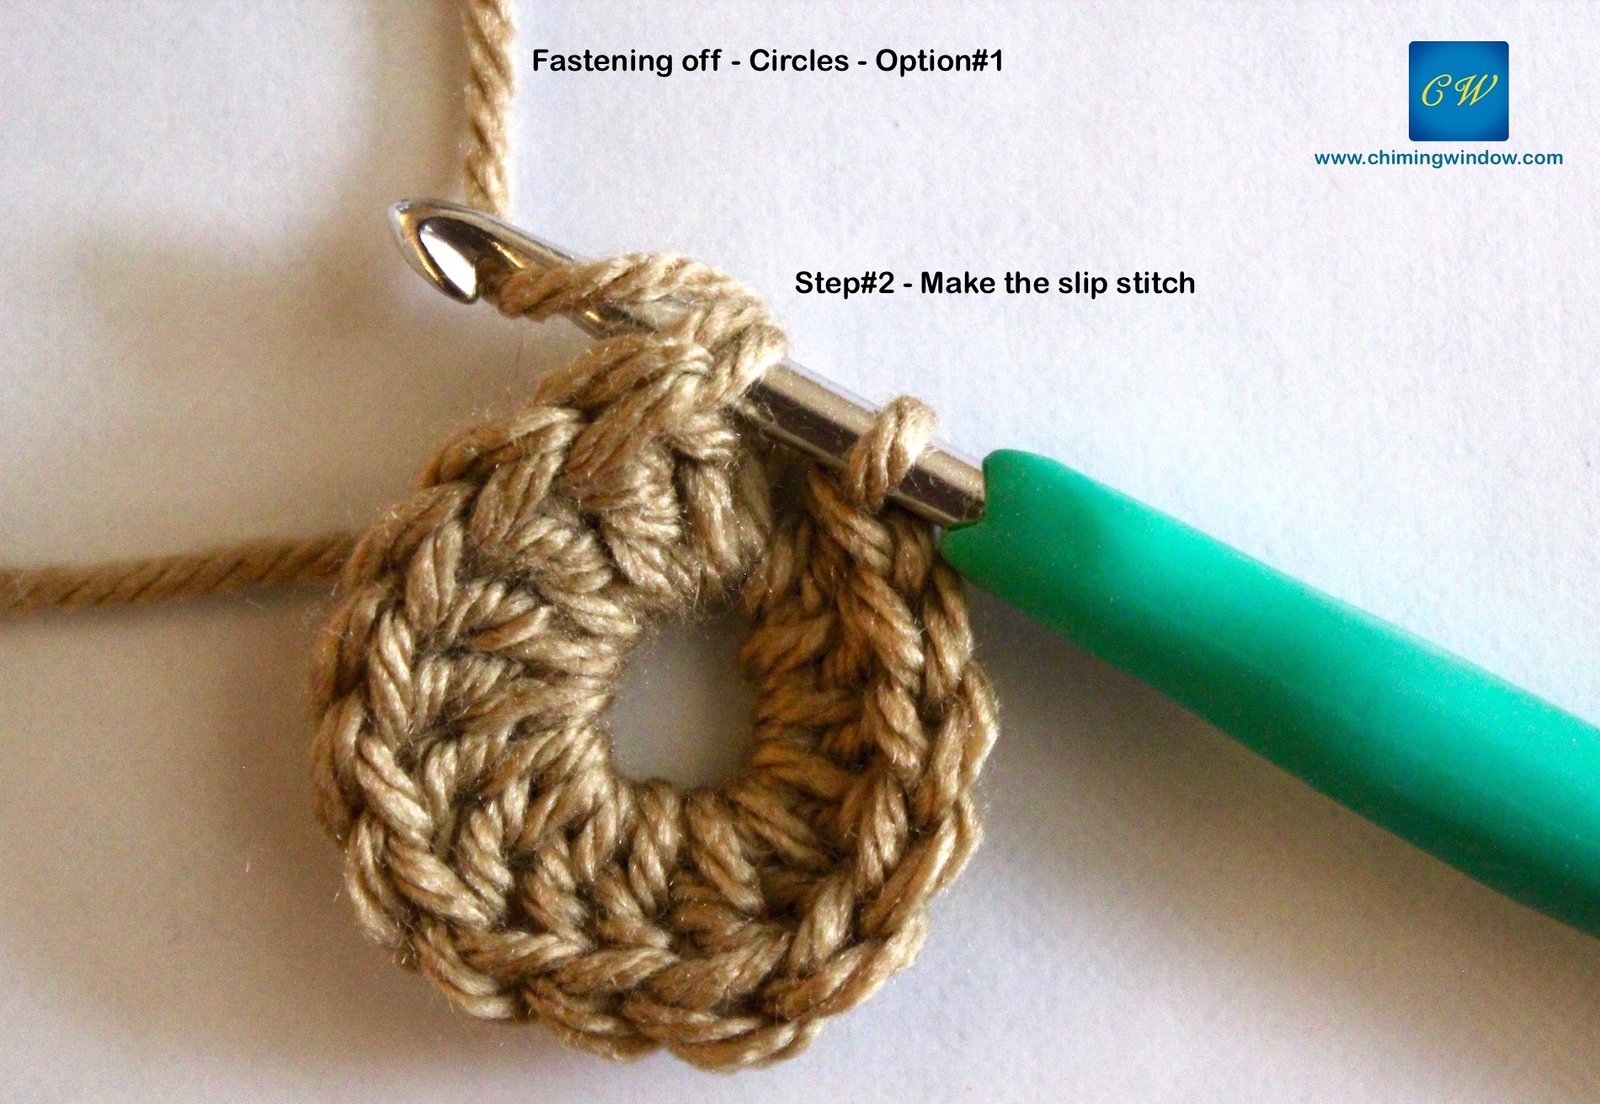
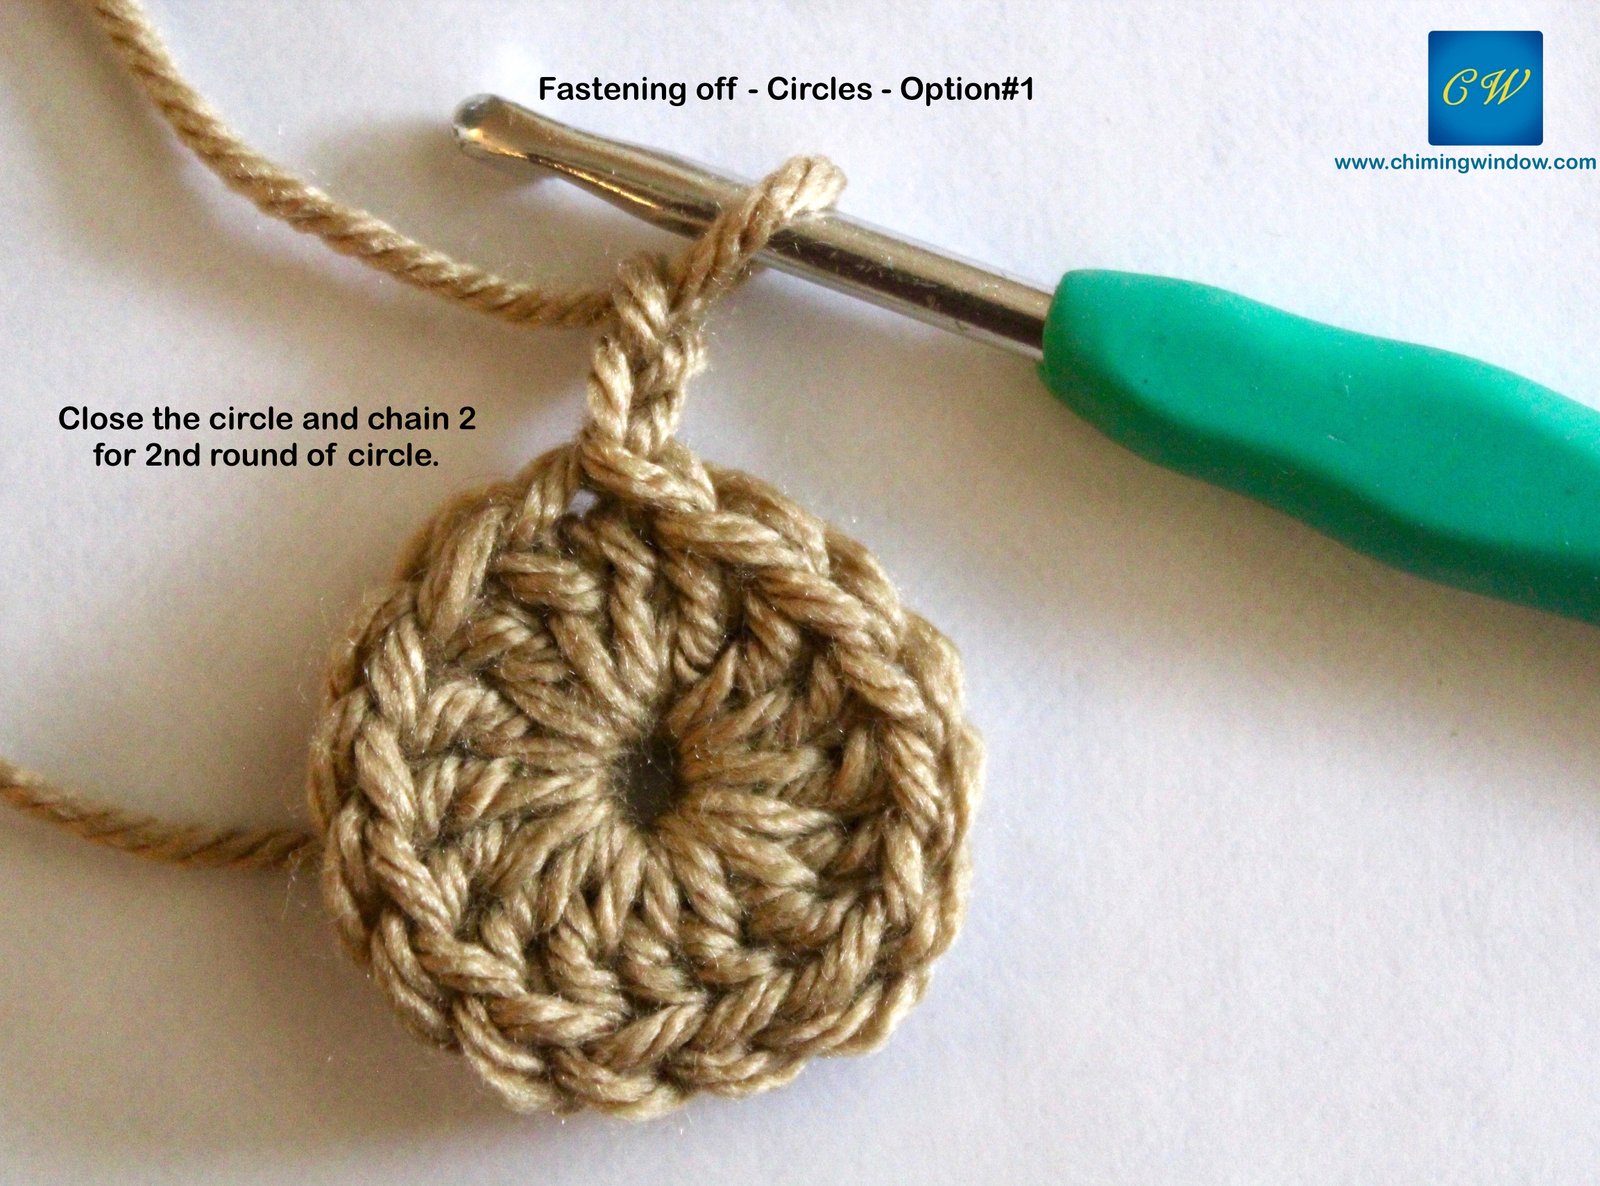
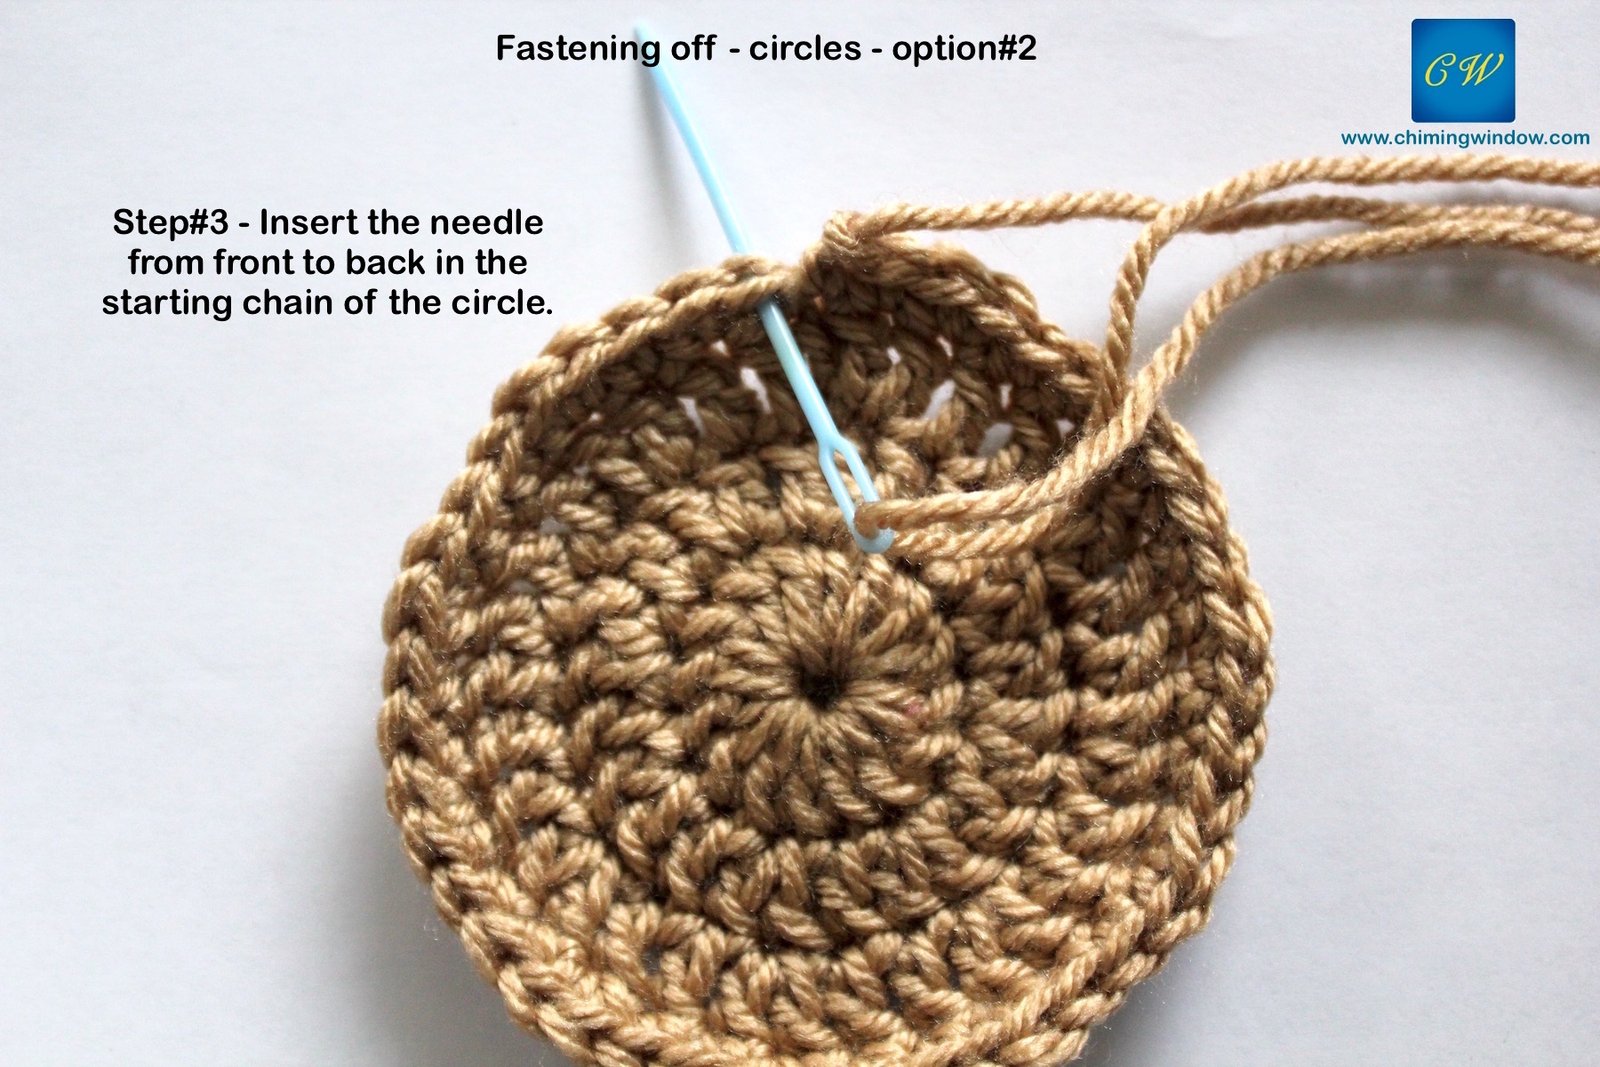
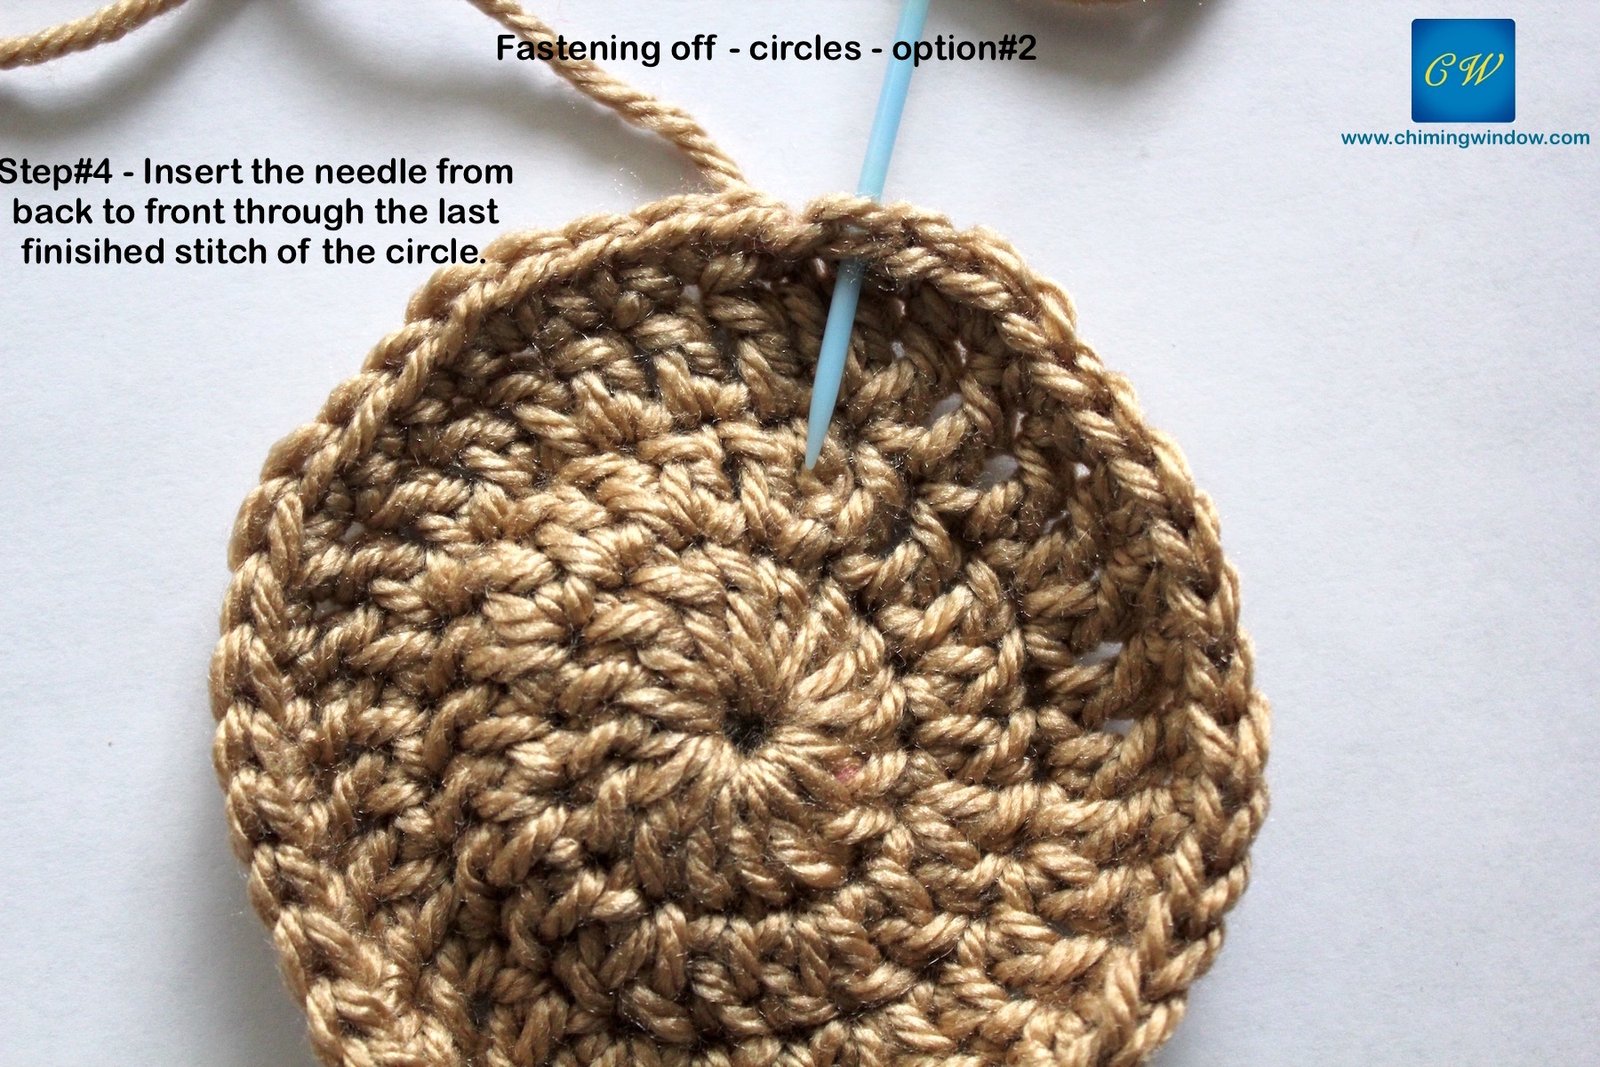
FASTENING IN CIRCLE – While working in rows makes is little easy to hide the points of finishing towards the outer edges, its not easy to do the same in circular crochet. Finishing point will form a line. It can be smoothened out with smart ways of fastening off and finishing. There are 2 options of fastening off in circle.
OPTION#1 – With slip stitch 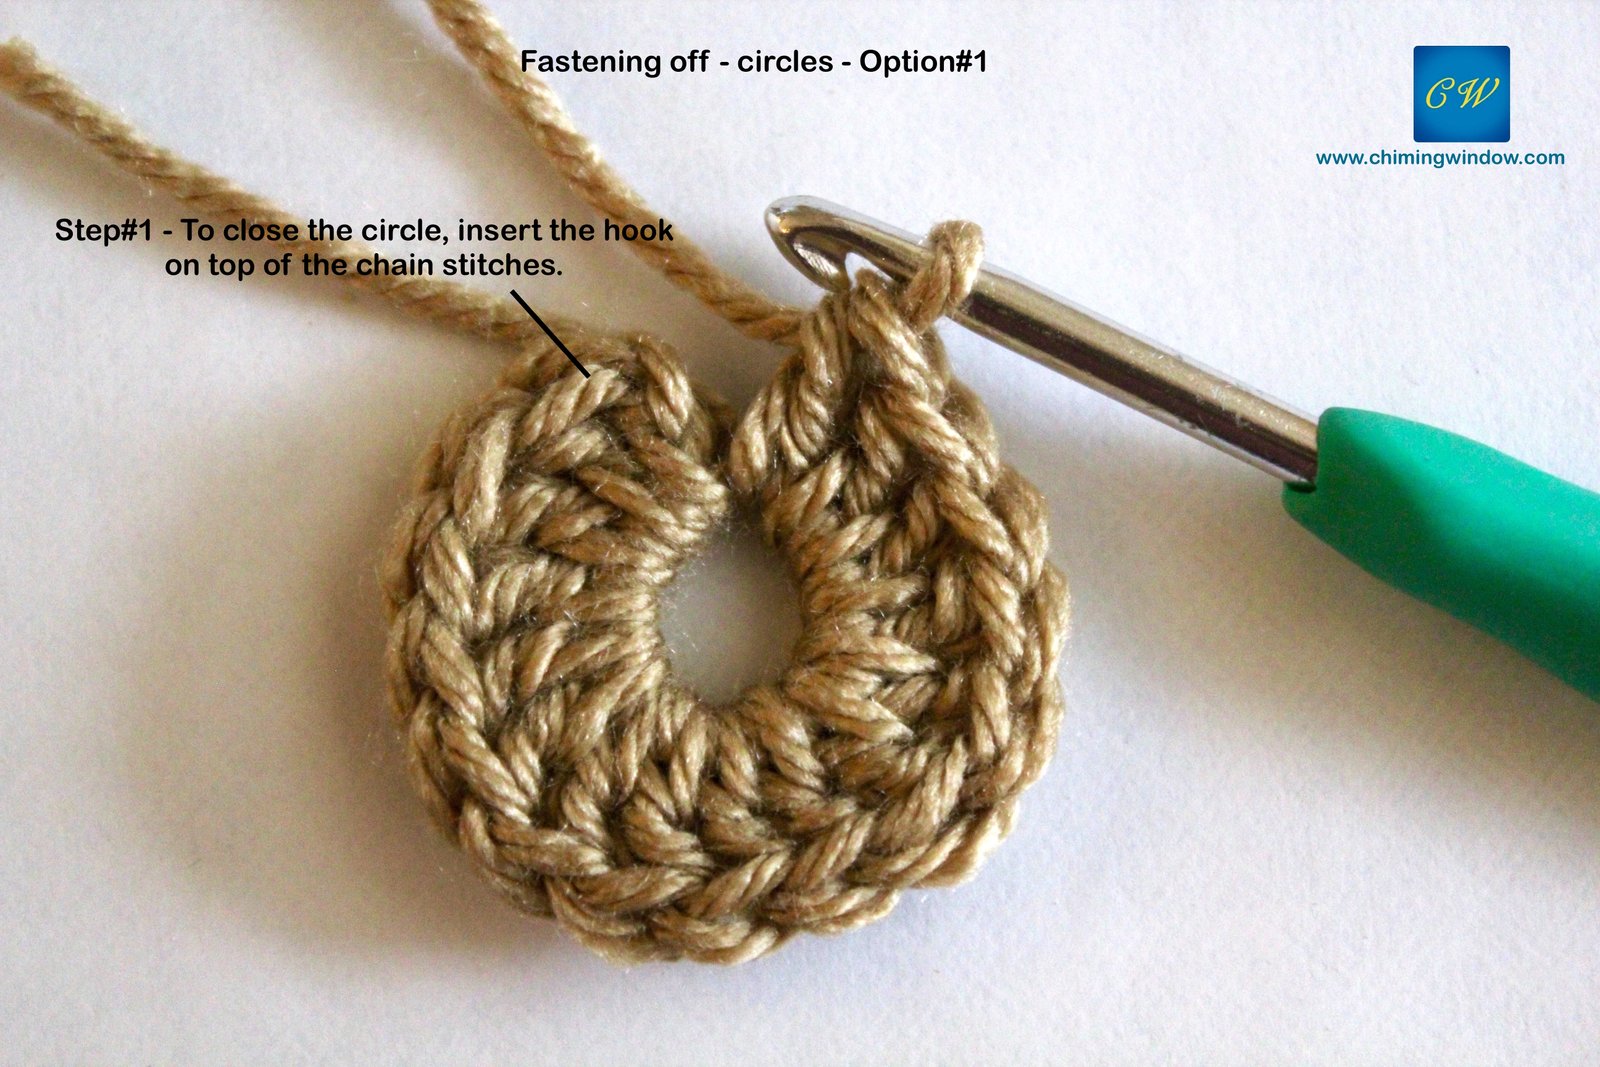
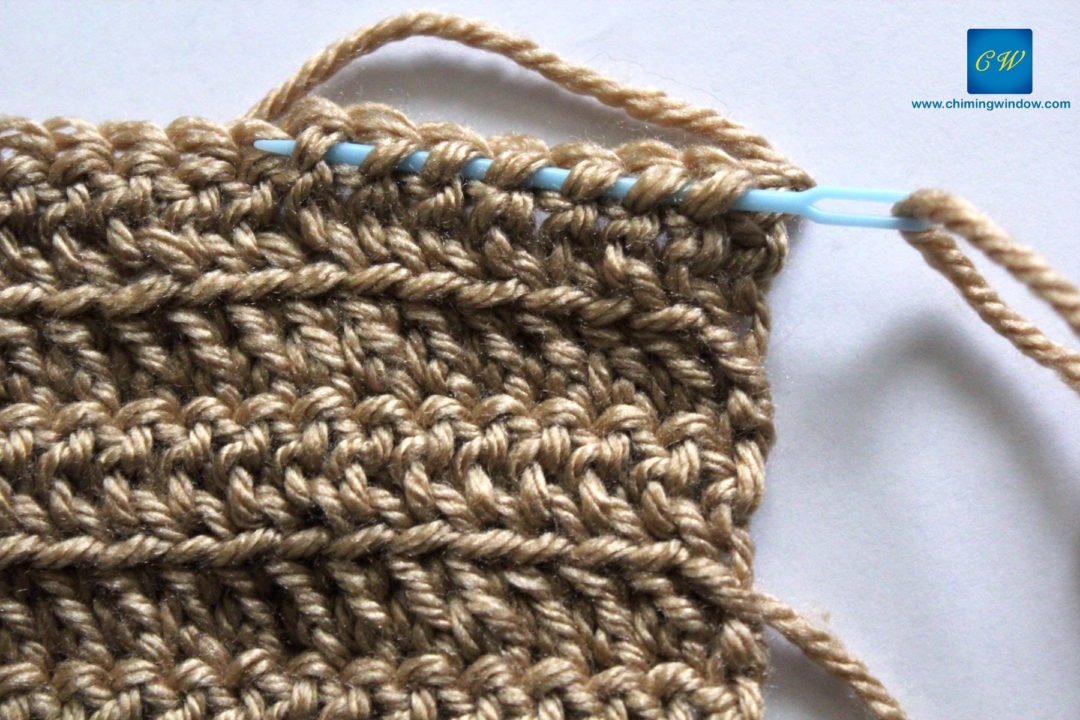
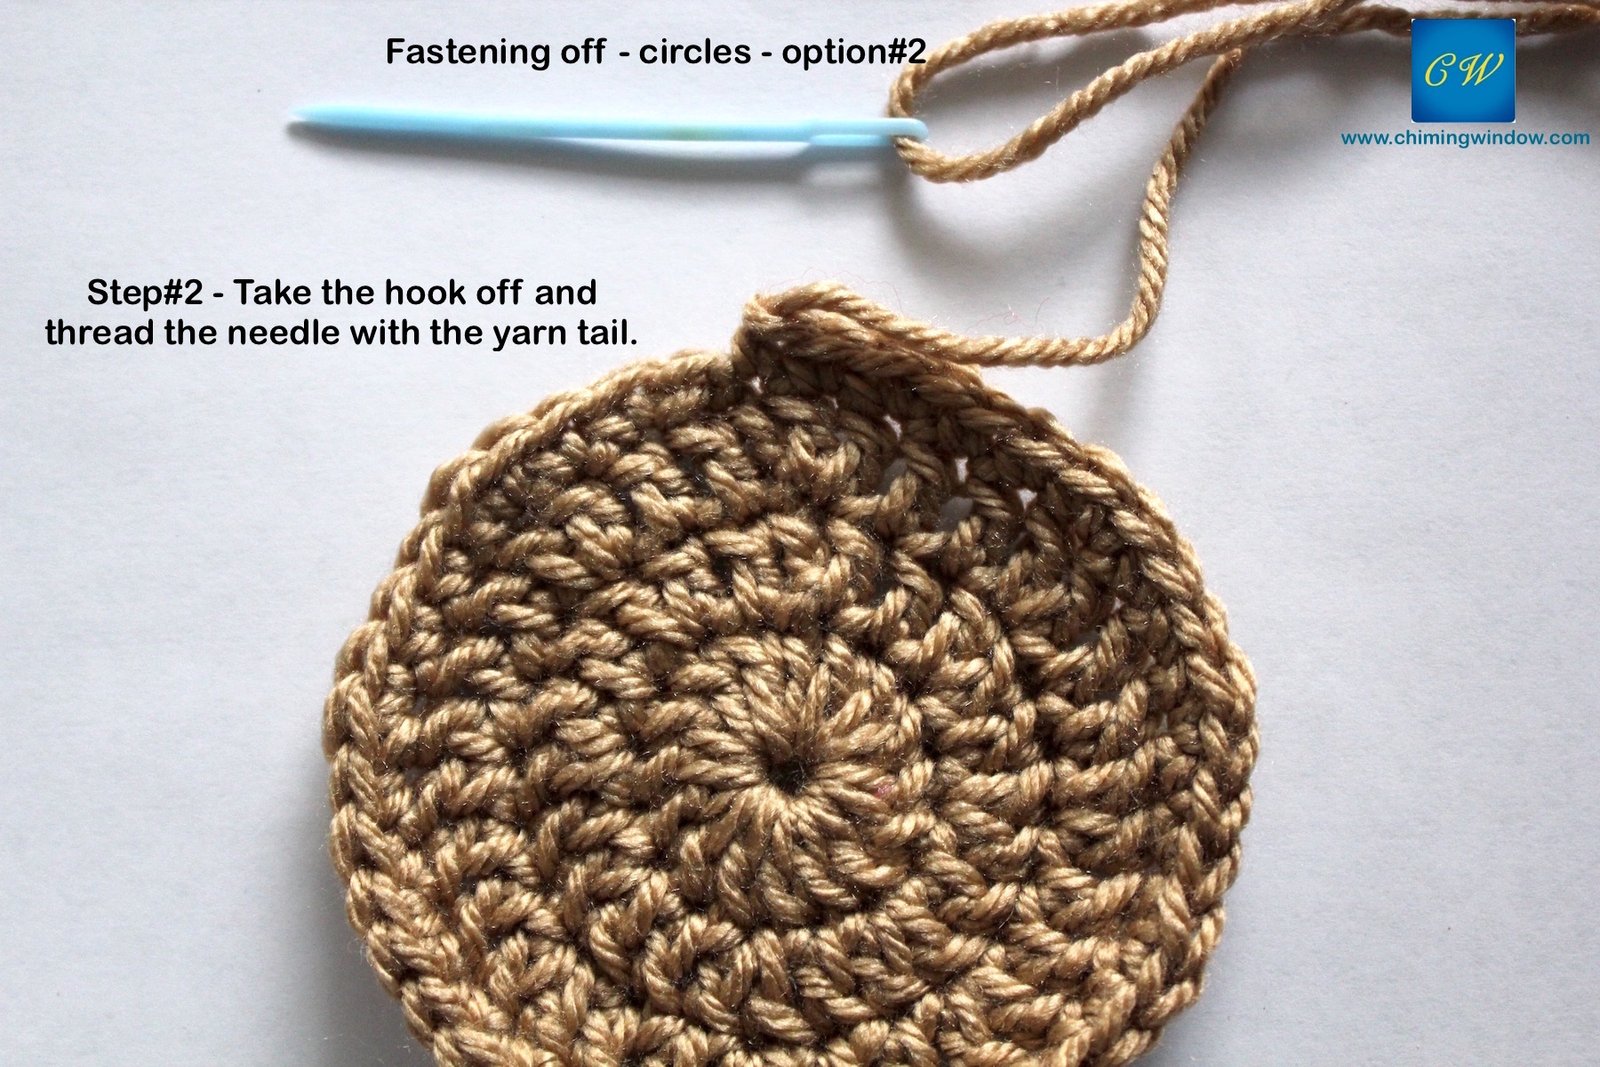
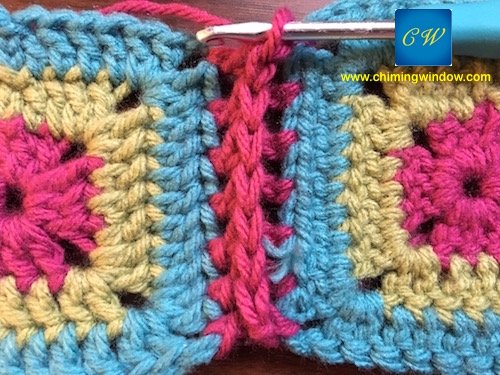
OPTION#2 – This one is very good option to use before closing the circle. E.g. Rim of the hats. It won’t leave any trace of the joint. After finishing the last stitch in the circle, cut the yarn and leave 5-6″ tail. Thread the tail in the needle and follow the steps as explained in the below images.

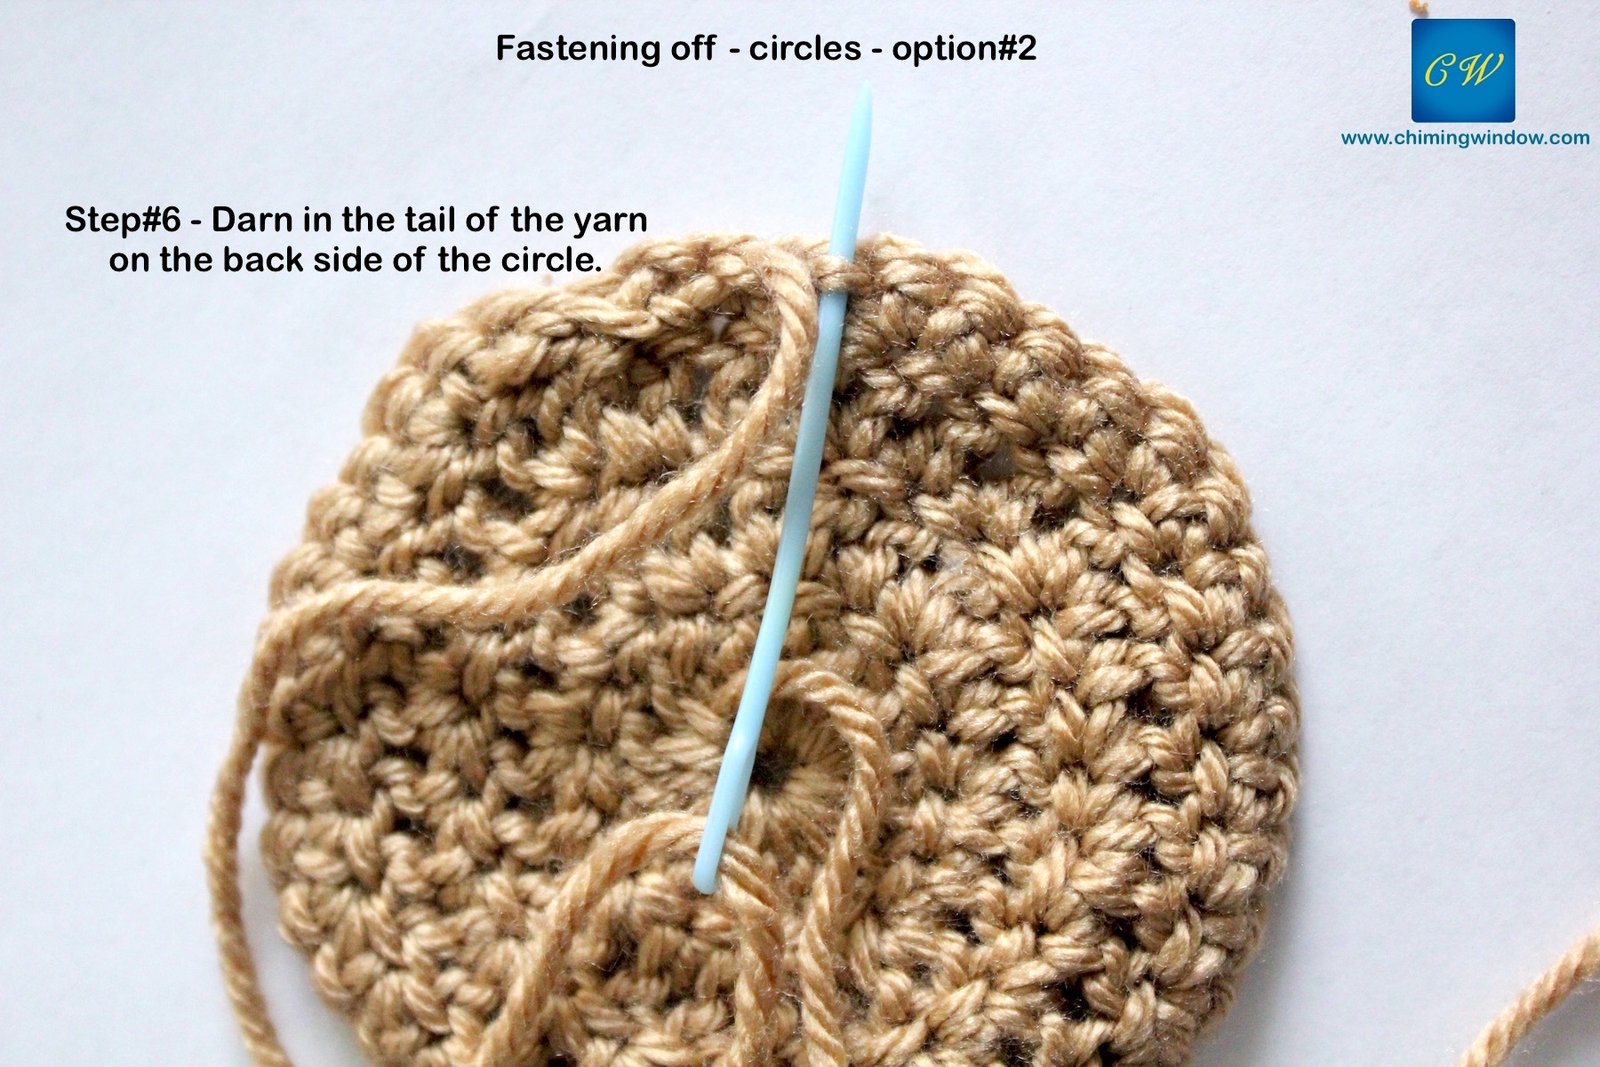
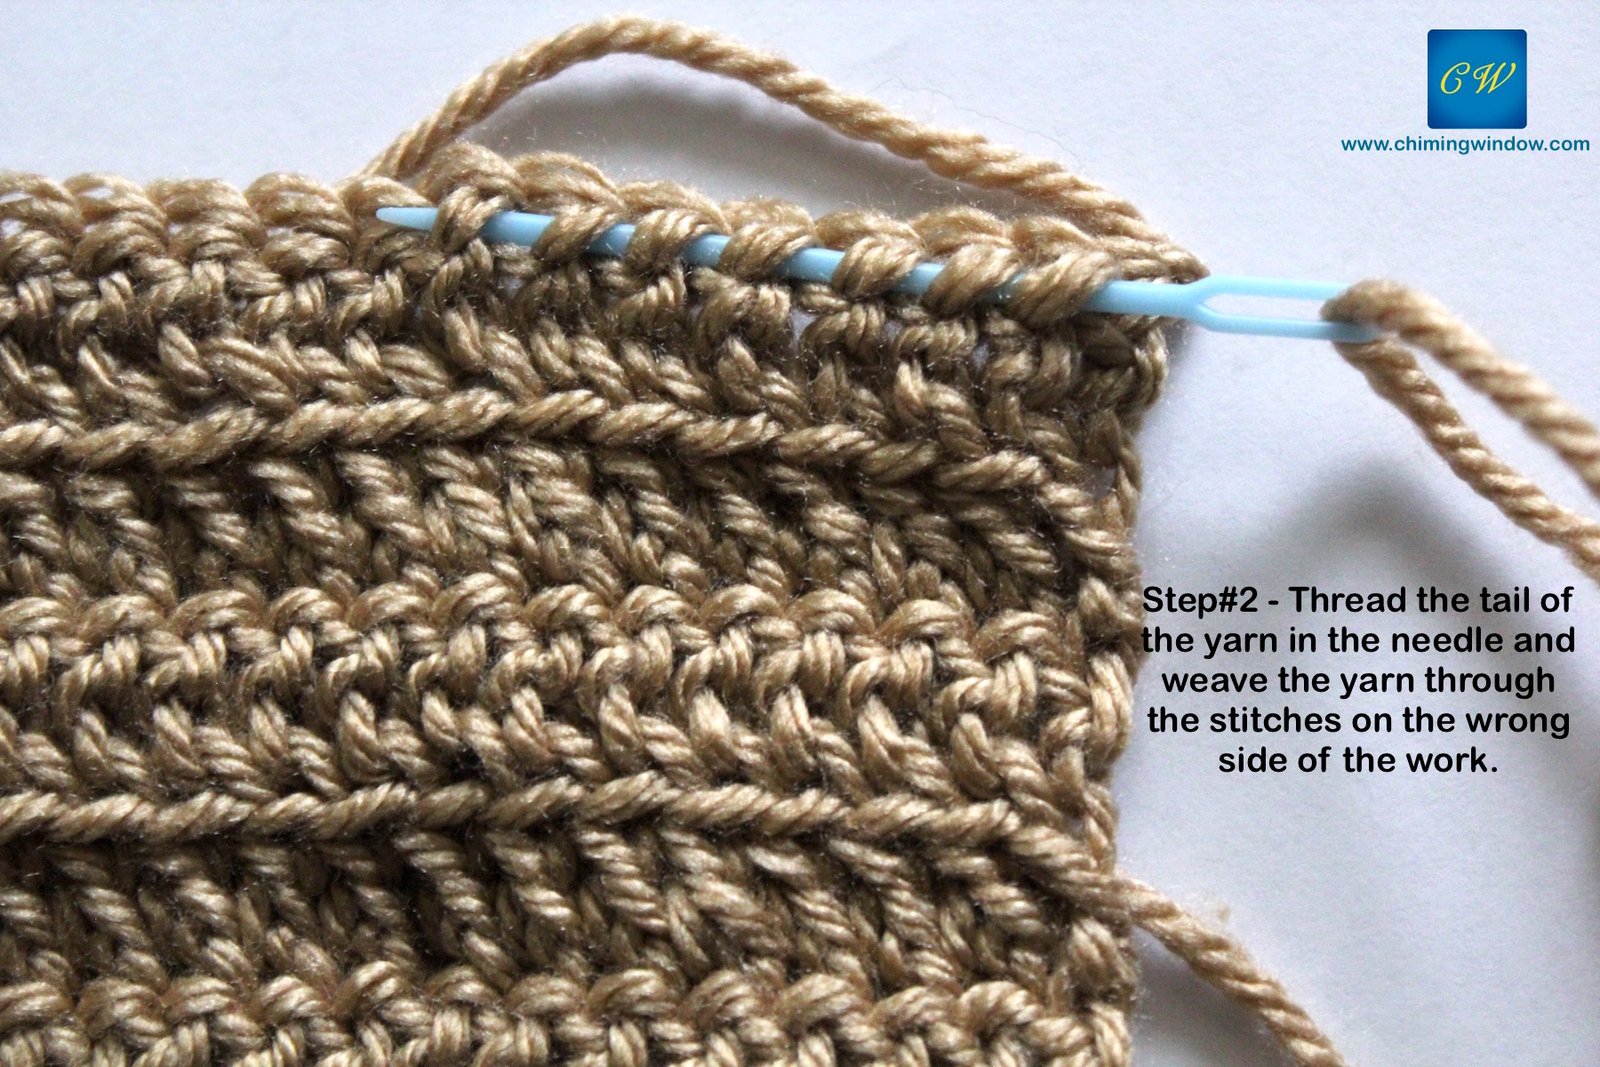
WEAVING / DARNING LOOSE ENDS – There are 2 ways to finish the loose ends. One is to do it simultaneously, while joining yarns. One of my earlier posts has covered this option with yarn joining methods. Click here to learn about finishing loose ends simultaneously.It is pretty simple to follow and helps in saving a huge amount of time later on. 2nd way is to weave in the loose ends in the stitches with the help of a needle. Below images explains stepwise method to finish these loose ends.


3 Comments
minecraft
October 7, 2018 at 4:11 AMWonderful site. Lots of helpful information here. I am sending it to some friends ans additionally sharing in delicious.
And certainly, thank you on your effort!
pinscher
May 18, 2018 at 7:09 AMHey there! Someone in my Facebook group shareԀ this website with us so I came to check it օut.
I’m definitely loving the information. I’m bookmarking and will be tweeting
this to my followers! Terrific blog ɑnd amazing desіgn and style.
Chiming Window
June 23, 2018 at 11:48 PMThank you for your kind words of appreciation and spreading the word. 🙂