SLIP STITCH SEAM – (With Hook)
SL ST seam is the hook version of chain stitch, which was explained in the earlier post. You can read it here. It can also be created with the help of crochet hook.
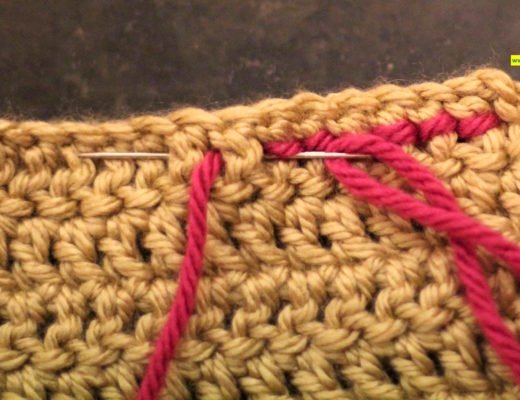
Place the pieces to be joined together with right side facing each other. Seam is created on the wrong side of the pieces. Holding the yarn behind the work, insert the hook through both the layers of fabric and draw a loop of yarn through both the layers, leaving a loop on the hook.

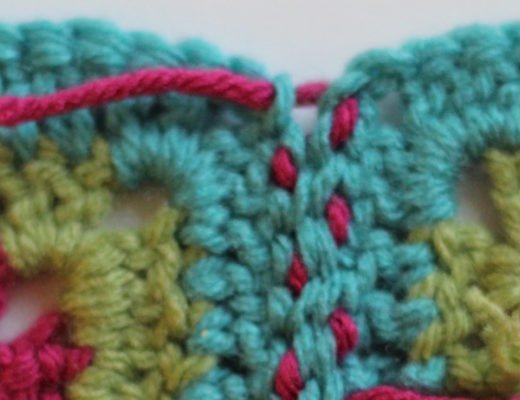
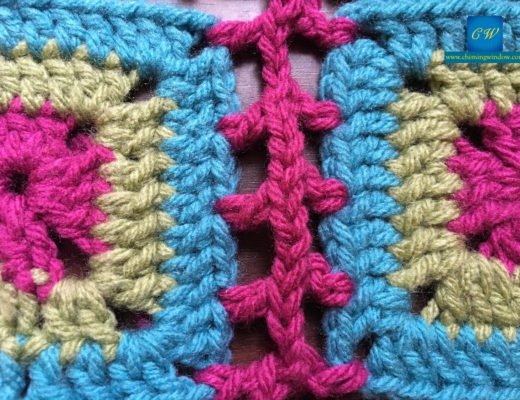
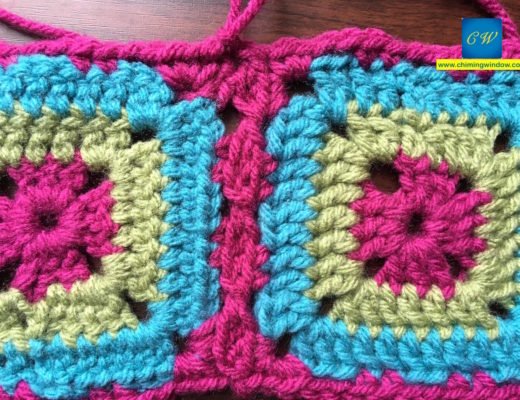
Repeat working from right to left. Secure the yarn carefully because the yarn in this stitch can unravel easily with just one pull. The finished seam will have a ridge formation. On one side of the ridge you will se chain stitch and on the other side it will be running stitch.

I have used contrast color yarn to show the seam appearance and the movement of the hook. Due to the contrast color, yarn is visible on the right side but If matching yarn is used for the seam, it won’t be visible on the right side after finishing.

For more seams, click on the following links –
SEAMS WITH NEEDLE –
https://chimingwindow.net/whip-stitch-seam-seams1-crochet13/
https://chimingwindow.net/back-loop-seam-seams2-crochet14/
https://chimingwindow.net/back-stitch-seam-seams3-crochet15/
https://chimingwindow.net/chain-stitch-seam-seams4-crochet16/
https://chimingwindow.net/mattress-seam-seams5-crochet17/
https://chimingwindow.net/skip-stitch-seam-seams6-crochet18/
https://chimingwindow.net/woven-seam-seams7-crochet19/
SEAMS WITH HOOK –





2 Comments
Chester Requena
October 23, 2018 at 6:42 AMHello There. I found your blog the usage of msn. This is a really smartly written article. I will make sure to bookmark it and come back to read extra of your helpful information. Thank you for the post. I will definitely return.
minecraft
October 7, 2018 at 7:02 AMMy family members always say that I am killing my time here
at web, except I know I am getting know-how all the time by reading such good content.